/ Knowledge base /
How to change the background of an email or email elementHow to change the background of an email or email element
Changing the background of your email or specific elements allows you to enhance your design. But whether you're creating a newsletter campaign or editing an email as part of an automated flow, the first step is to access the email editor.
Once you’ve done this, the process depends on which part of the email you want to modify. Here’s how to go about each email section:
Changing the background of the entire email
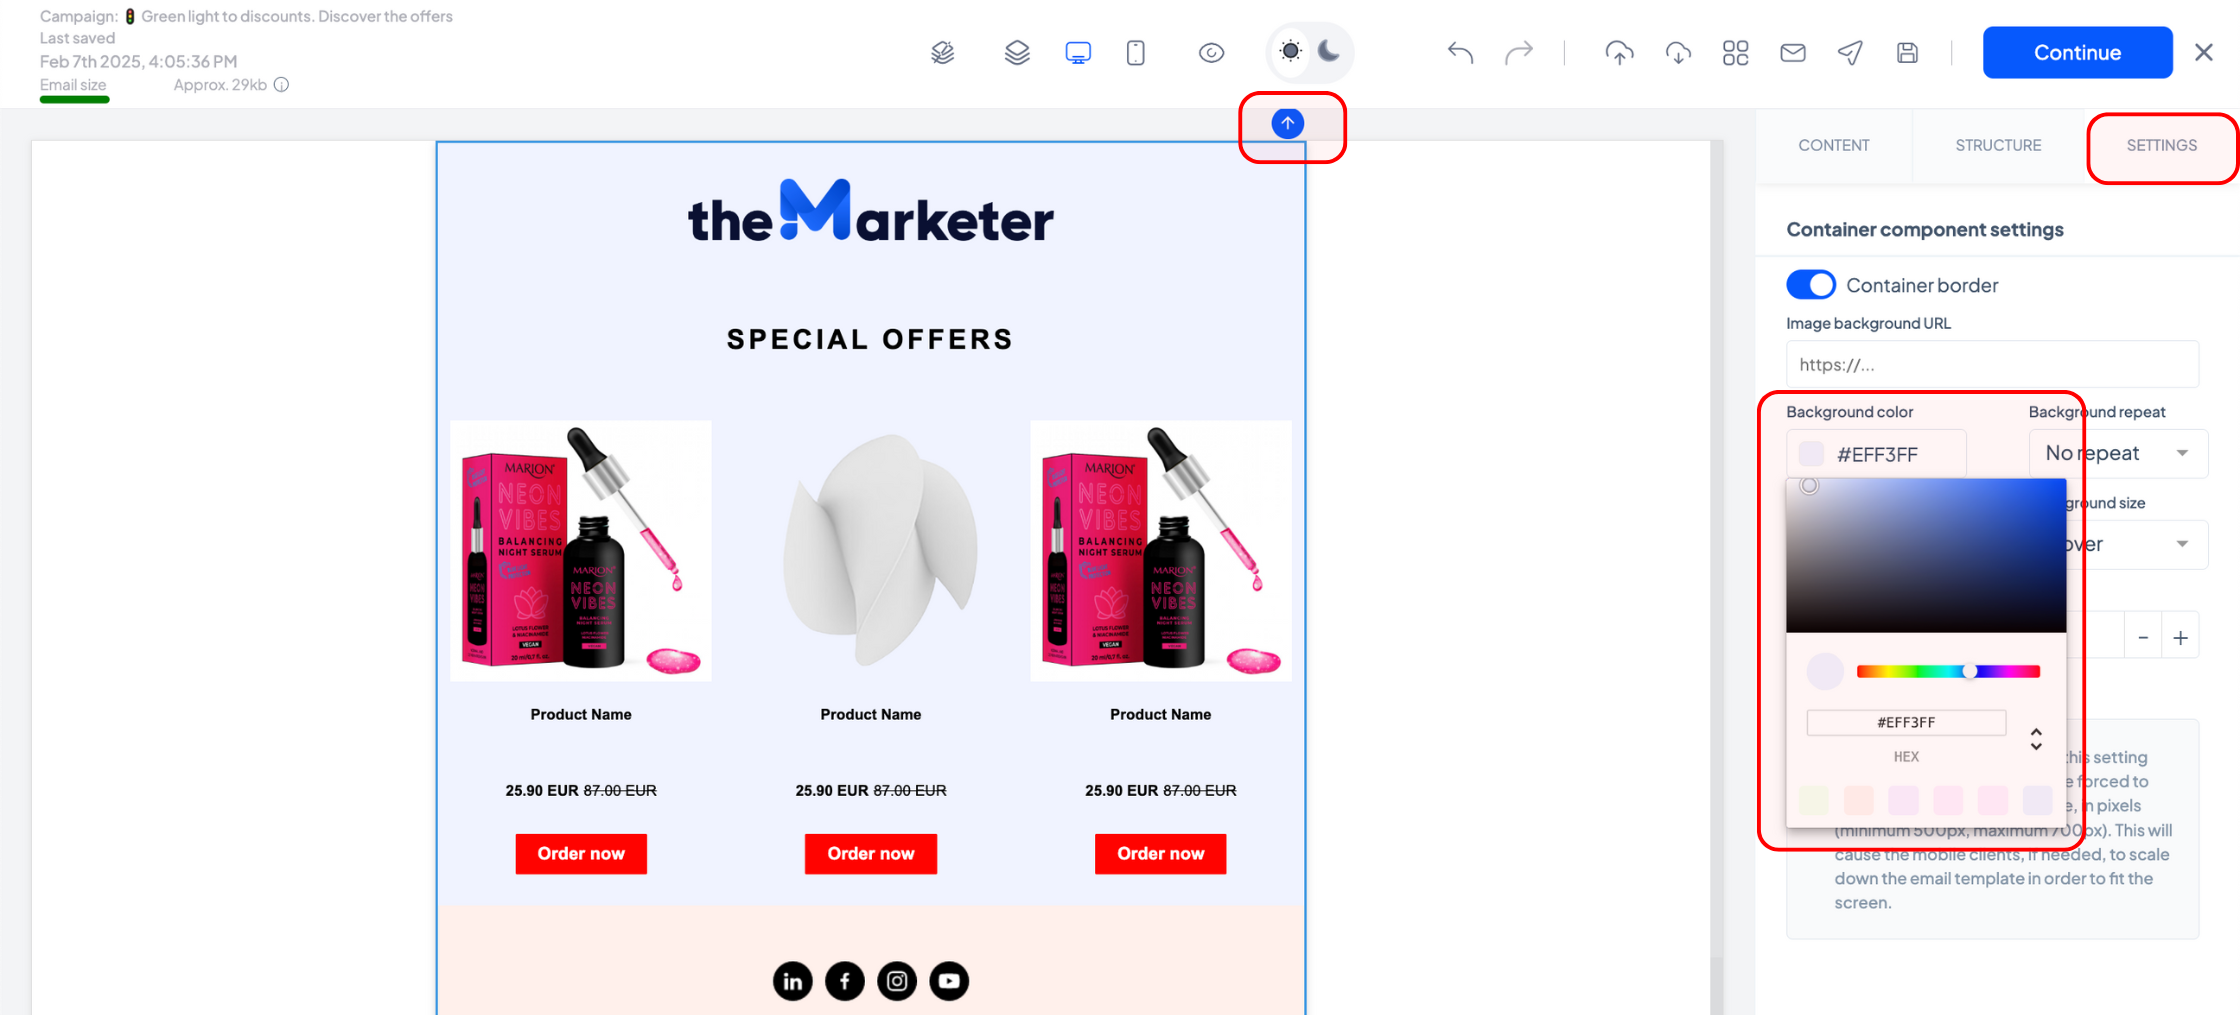
To change the background of the entire email, select the email ‘canvas’ or ‘parent’ container. You can identify this by clicking the ‘Select parent’ icon multiple times across email blocks until nothing else changes on your screen or in the ‘Settings’ tab. When starting from scratch, this is represented by the blank rectangle where you can drag and drop other elements.
Once the parent container is selected, go to the ‘Settings’ tab on the right-hand side. You can either choose a custom color or add an image as the background. To set a custom color, click the ‘Background color’ field and either type the HEX code or use the color picker.
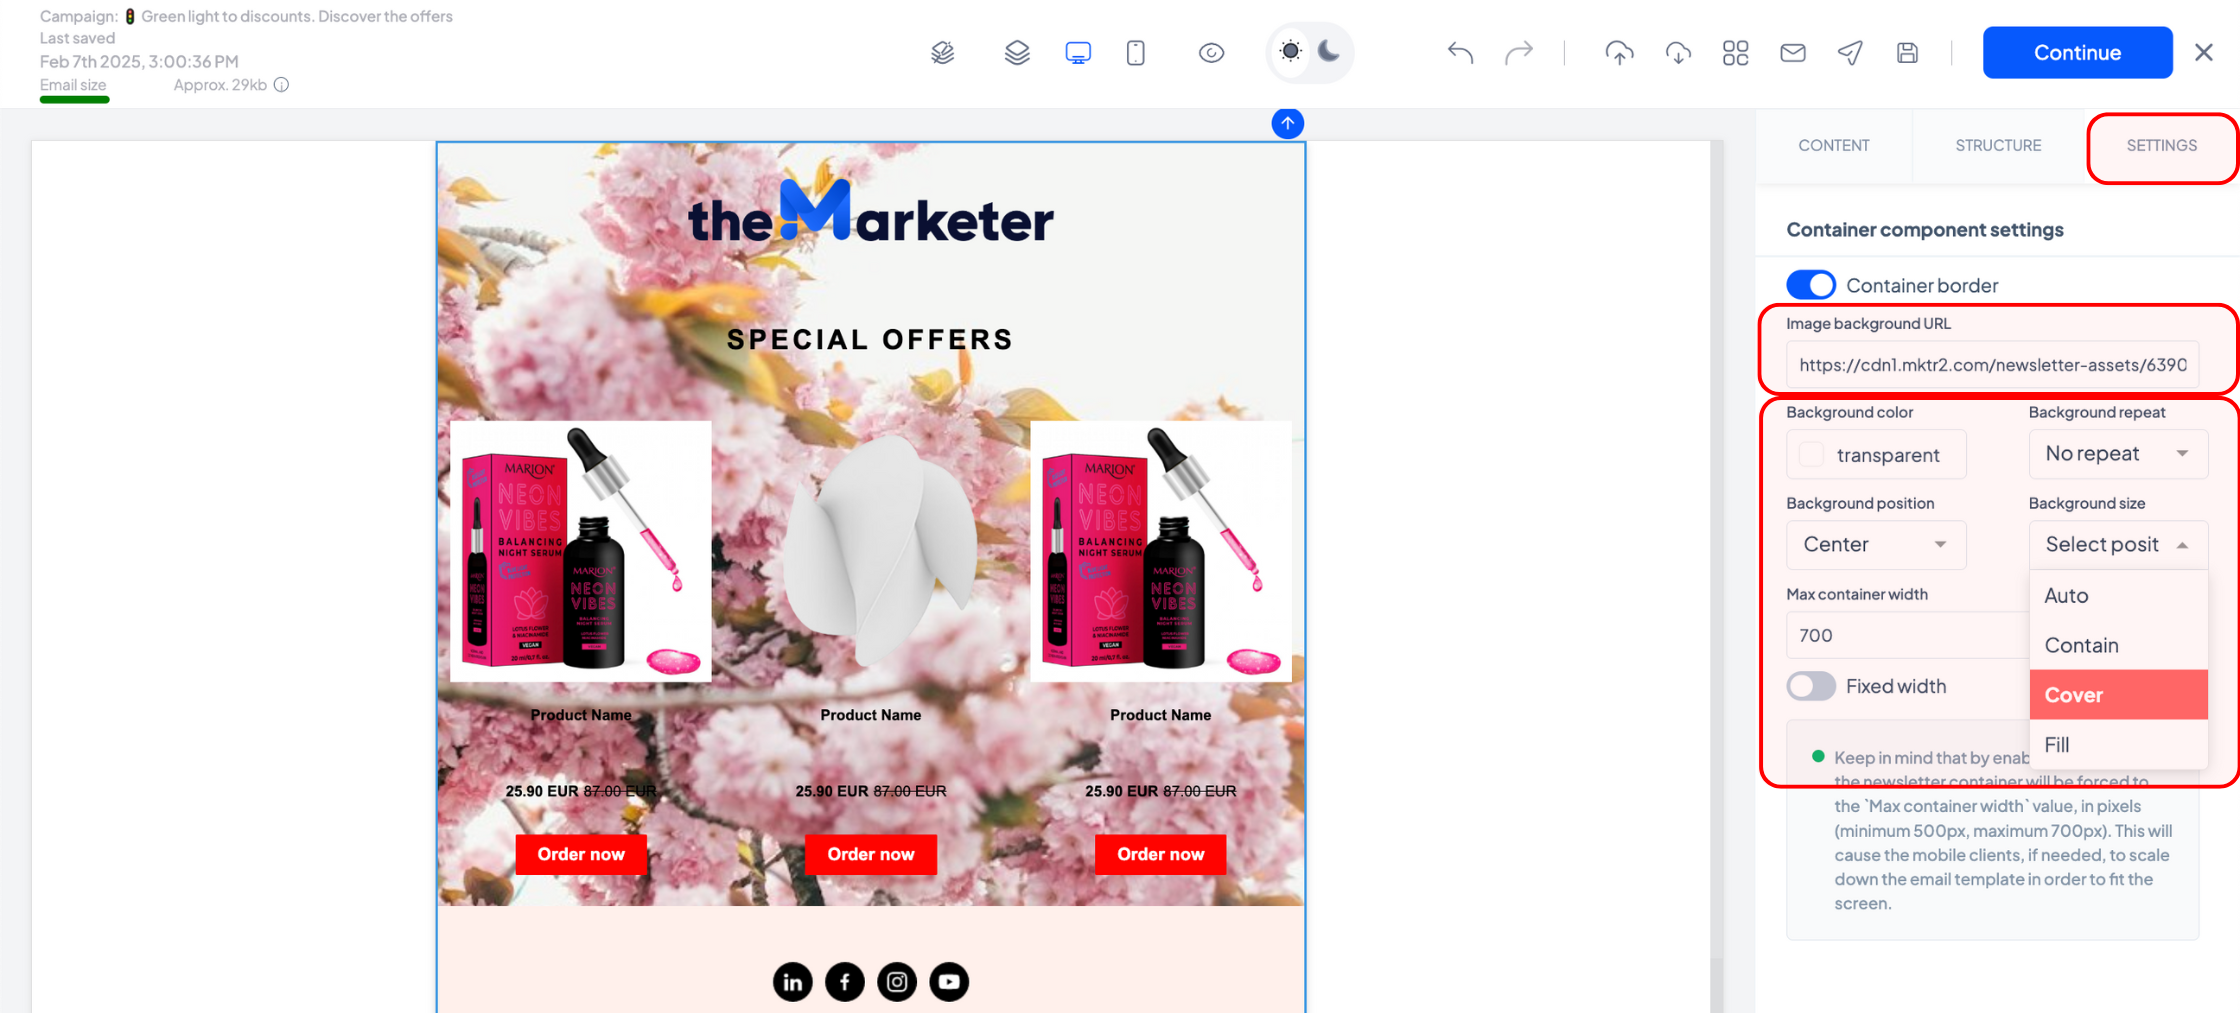
To set an image background, type the image URL in the ‘Image background URL’ field.
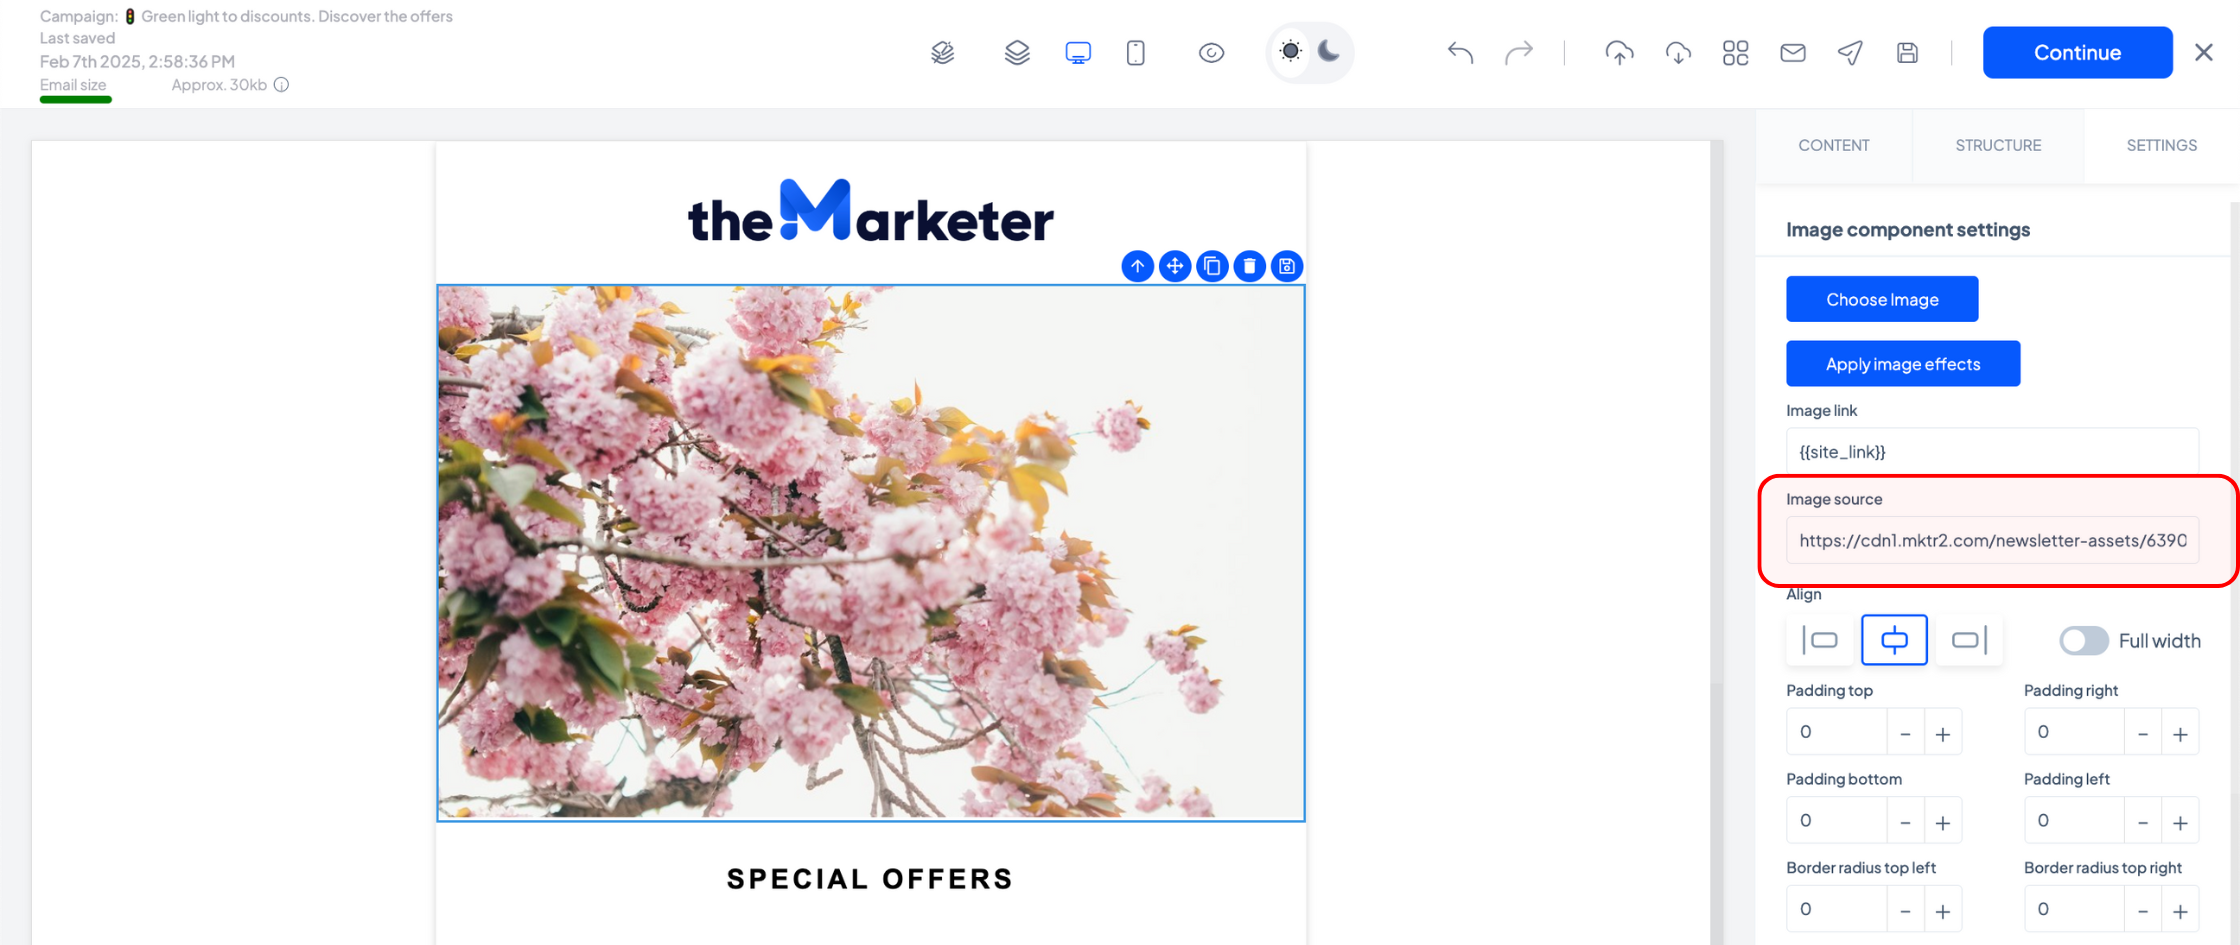
Quick tip: If you don’t have the URL, you can retrieve it by adding an image block to your email, uploading the picture you want to use, and copying the URL from the ‘Image source’ field. After retrieving the URL, you can delete the image block.
In most cases, your image will have a different size than your final email, so use the drop-down menus in the ‘Settings’ tab to decide how your background image should behave. Here are some possible options:
- ‘Background repeat’ set to ‘No repeat’ and ‘Background size’ set to ‘Auto’: your image will appear once, at its original size, where indicated in the ‘Background position’ field.
- ‘Background repeat’ set to ‘Repeat’ and ‘Background size’ set to ‘Auto’: your image will appear multiple times on the vertical axis, at its original size.
- ‘Background repeat’ set to ‘No repeat’ and ‘Background size’ set to ‘Contain’: your image will appear once, scaled to fit the width of the newsletter, aligned where indicated in the ‘Background position’ field.
- ‘Background repeat’ set to ‘No repeat’ and ‘Background size’ set to ‘Cover’: your image will appear once, zoomed in to fit both the the width and the height of the newsletter, aligned where indicated in the ‘Background position’ field.
- ‘Background repeat’ set to ‘No repeat’ and ‘Background size’ set to ‘Fill’: your image will appear once, stretched to fit the height of the newsletter, aligned where indicated in the ‘Background position’ field.
Keep in mind that using an image as a background may affect text contrast on devices using dark mode, making it harder to read. Also, consider how your product images and logo will appear when selecting a background to ensure the design remains visually balanced.
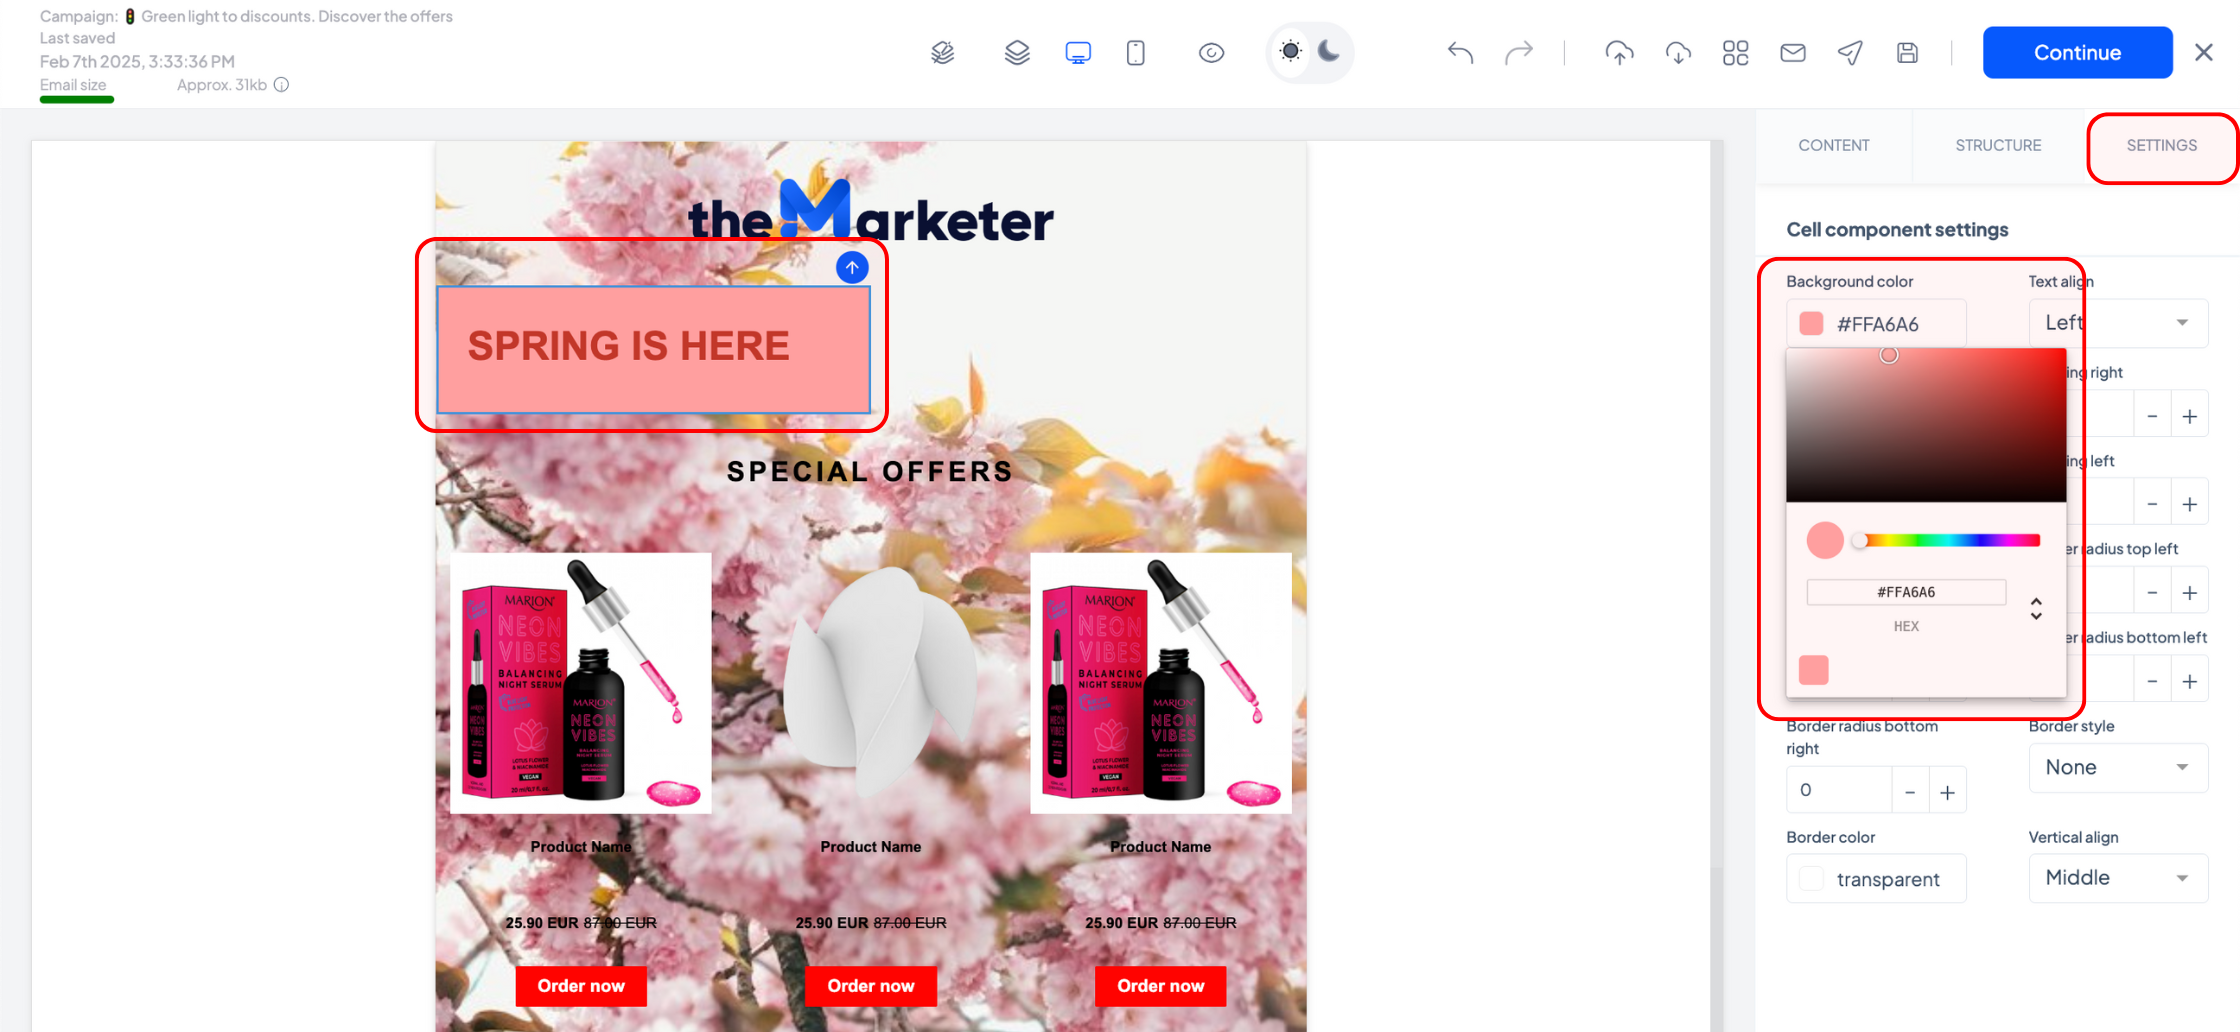
Changing the background of a cell
To change the background of a specific cell, select the cell container and go to the ‘Settings’ tab. Click the ‘Background color’ field and type the HEX code or use the color picker.
Changing the background of a content block
Some content blocks allow background changes, the process being similar to editing the background of a cell. However, other blocks have fixed templates. Here is a list of what can and cannot be customized:
- Logo - The background cannot be modified.
- Menu - The background can be changed using the ‘Background color’ field in the ‘Layout’ section. You can also assign individual backgrounds to links, giving a highlight effect.
- Text & AI Text - The background can be changed using the ‘Background color’ field in the ‘Text’ section.
- Image - The background cannot be modified.
- Video - The background cannot be edited, but the thumbnail behaves like a background image for the block. You can change the way it is displayed using the ‘Background size’ drop-down menu.
- Button - The background cannot be edited, but the button itself behaves like a background, so you can pick a specific color in the ‘Background color’ field, as well as add images and change the way they are displayed using the ‘Background size’ and ‘Background position’ drop-down menus.
- Divider - The background can be changed using the ‘Background color’ field in the ‘Divider component settings’ section.
- Mobile Apps - The background cannot be modified.
- Social Media - The background cannot be modified.
- Footer - The background can be changed using the ‘Background color’ field in the ‘Layout’ section or by changing the template.
- Custom & personalized product grid - The background can be changed using the ‘Product block background’ field in the ‘Layout’ section.
- Bundle & Single product - The background cannot be edited (only the overall design template).
- User-Generated Content, Feedback/NPS, Loyalty & Referral - The background cannot be edited (only the overall design template).
- Banner - The background cannot be edited (only the overall design template).
- Countdown - Thebackground can be changed using the ‘Background color’ field in the ‘Countdown component settings’ section.
- GIF - The background cannot be modified.
- Blog posts - The background cannot be modified.
- Benefits - The background can be changed using the ‘Benefits block background color’ field in the ‘Layout’ section.
- Discount - The background cannot be edited (only the overall design template).
- Surveys - The background cannot be edited (only the overall design template and the text background color).
- Stickers - The background cannot be modified.
And that’s all!
Related articles
STILL HAVE QUESTIONS?