/ Knowledge base /
How to connect theMarketer to mefiHow to connect theMarketer to mefi
If you're using mefi to manage your clients, leads, and business operations, integrating it with theMarketer is a great way to keep your marketing audience up to date automatically. Once connected, your contacts, custom fields, and key CRM data will be synchronized in real time, allowing you to build more precise segments, personalize your communication, and trigger automated workflows based on the latest information available in your CRM.
Here’s how to set it up:
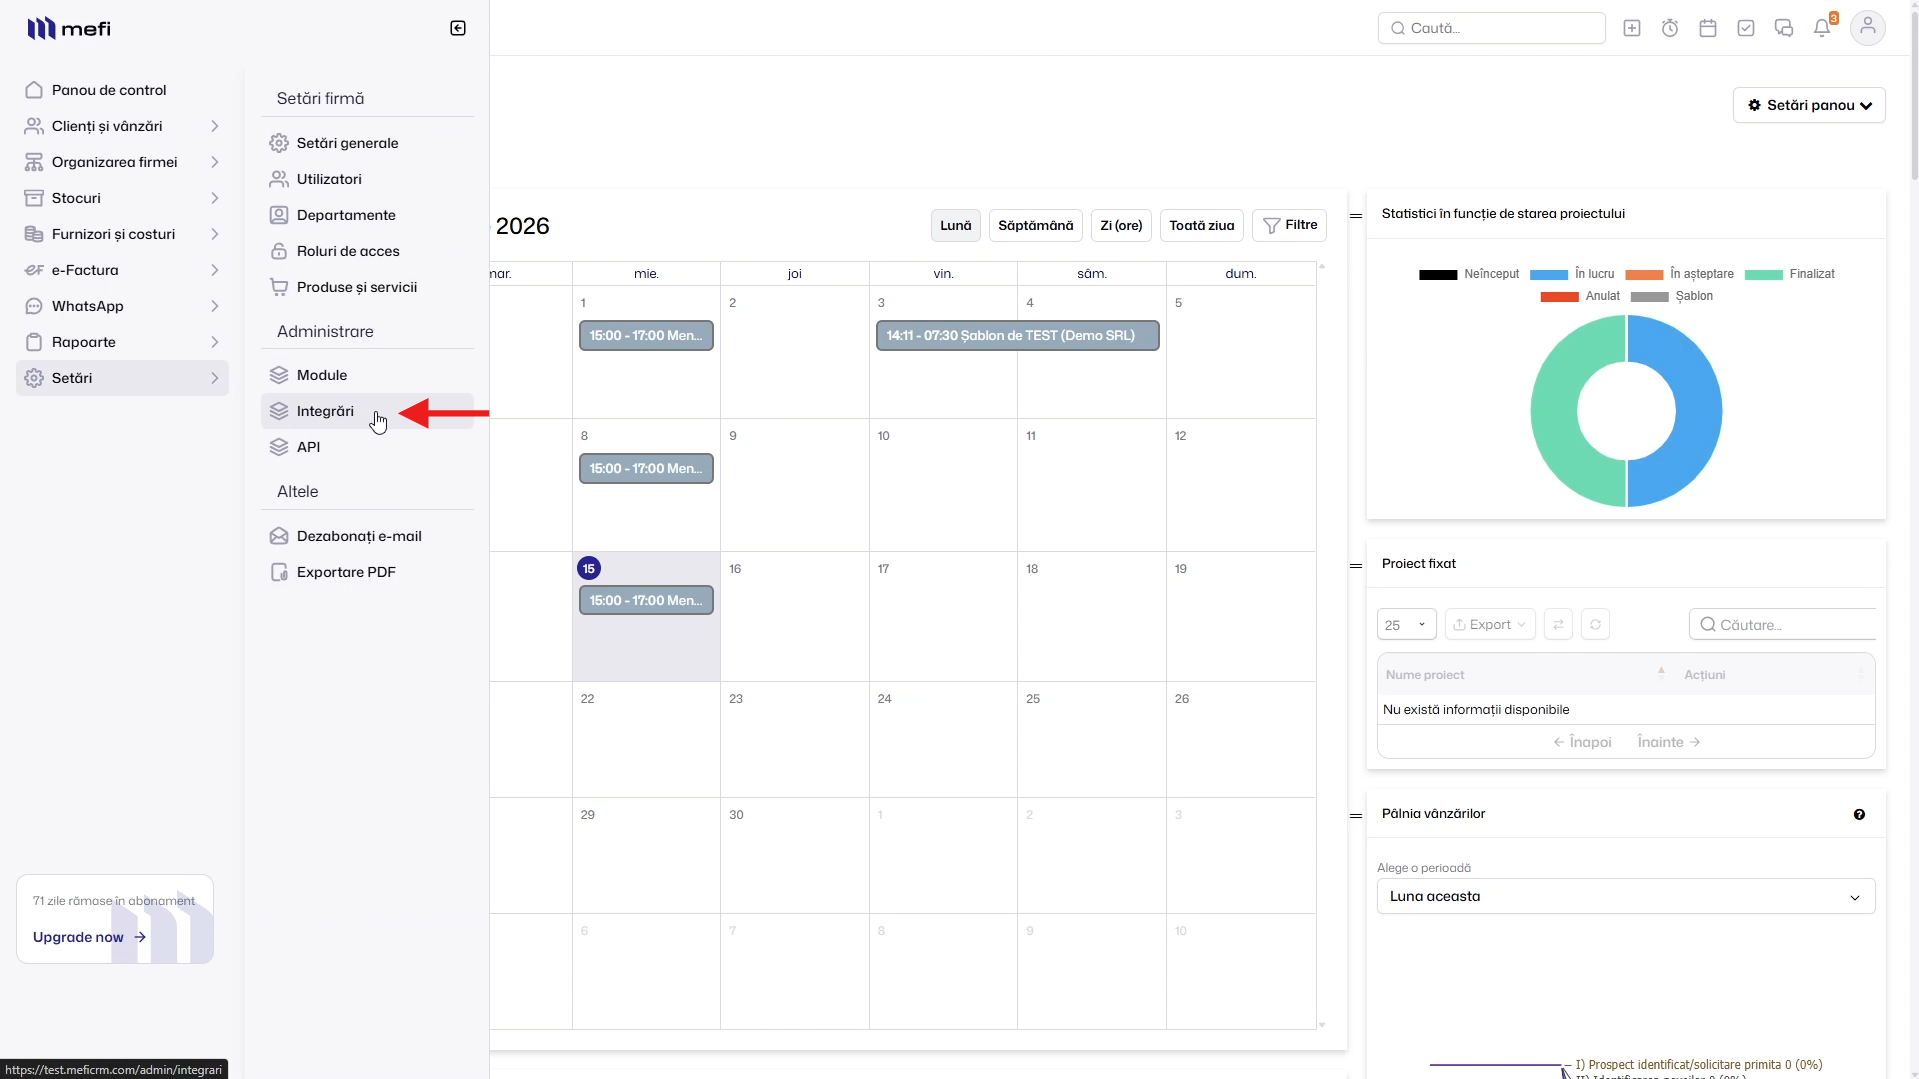
1. Open the Integrations section in mefi
Log into your mefi account and navigate to ‘Settings’ from the left-hand menu. Under the ‘Administration’ section, click ‘Integrations’.
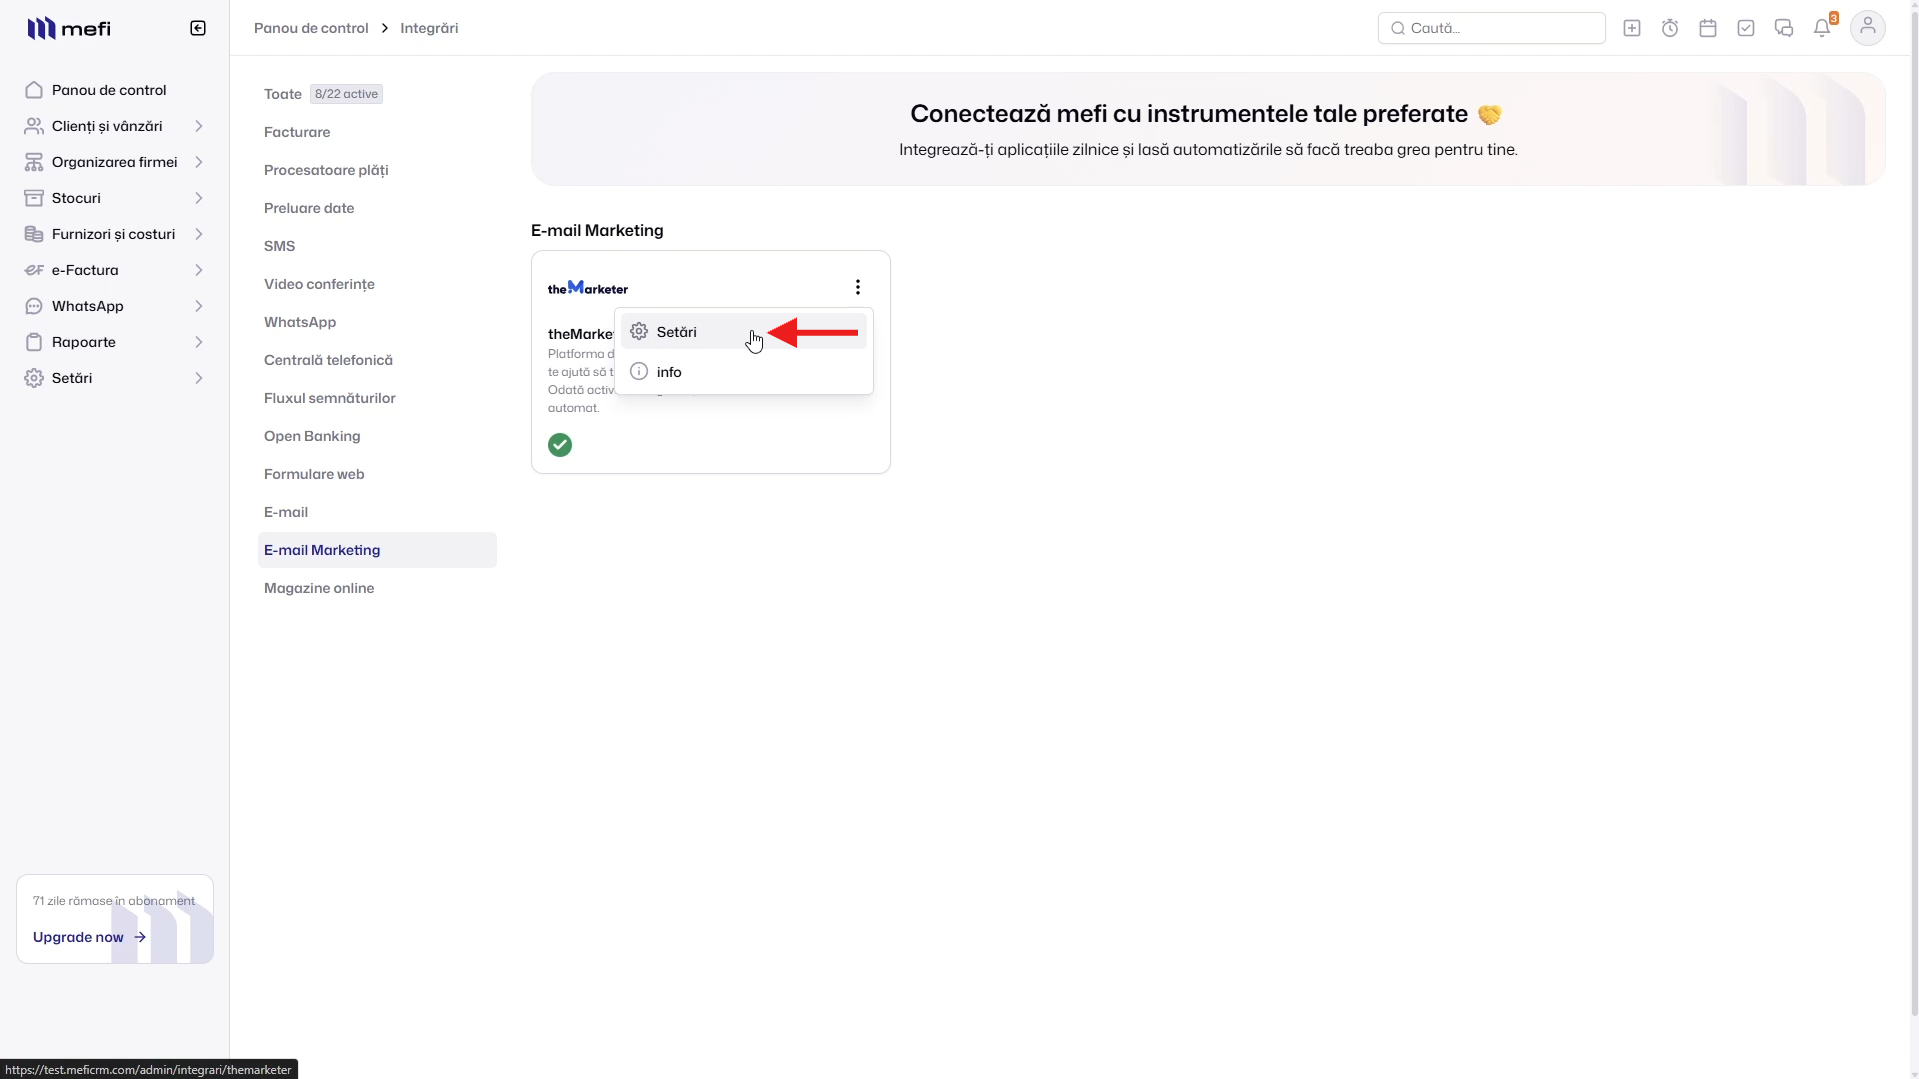
2. Open theMarketer integration settings
In the Integrations page, select the ‘Email Marketing’ category. Locate the theMarketer card, click the three-dot menu (⋮), then select ‘Settings’.
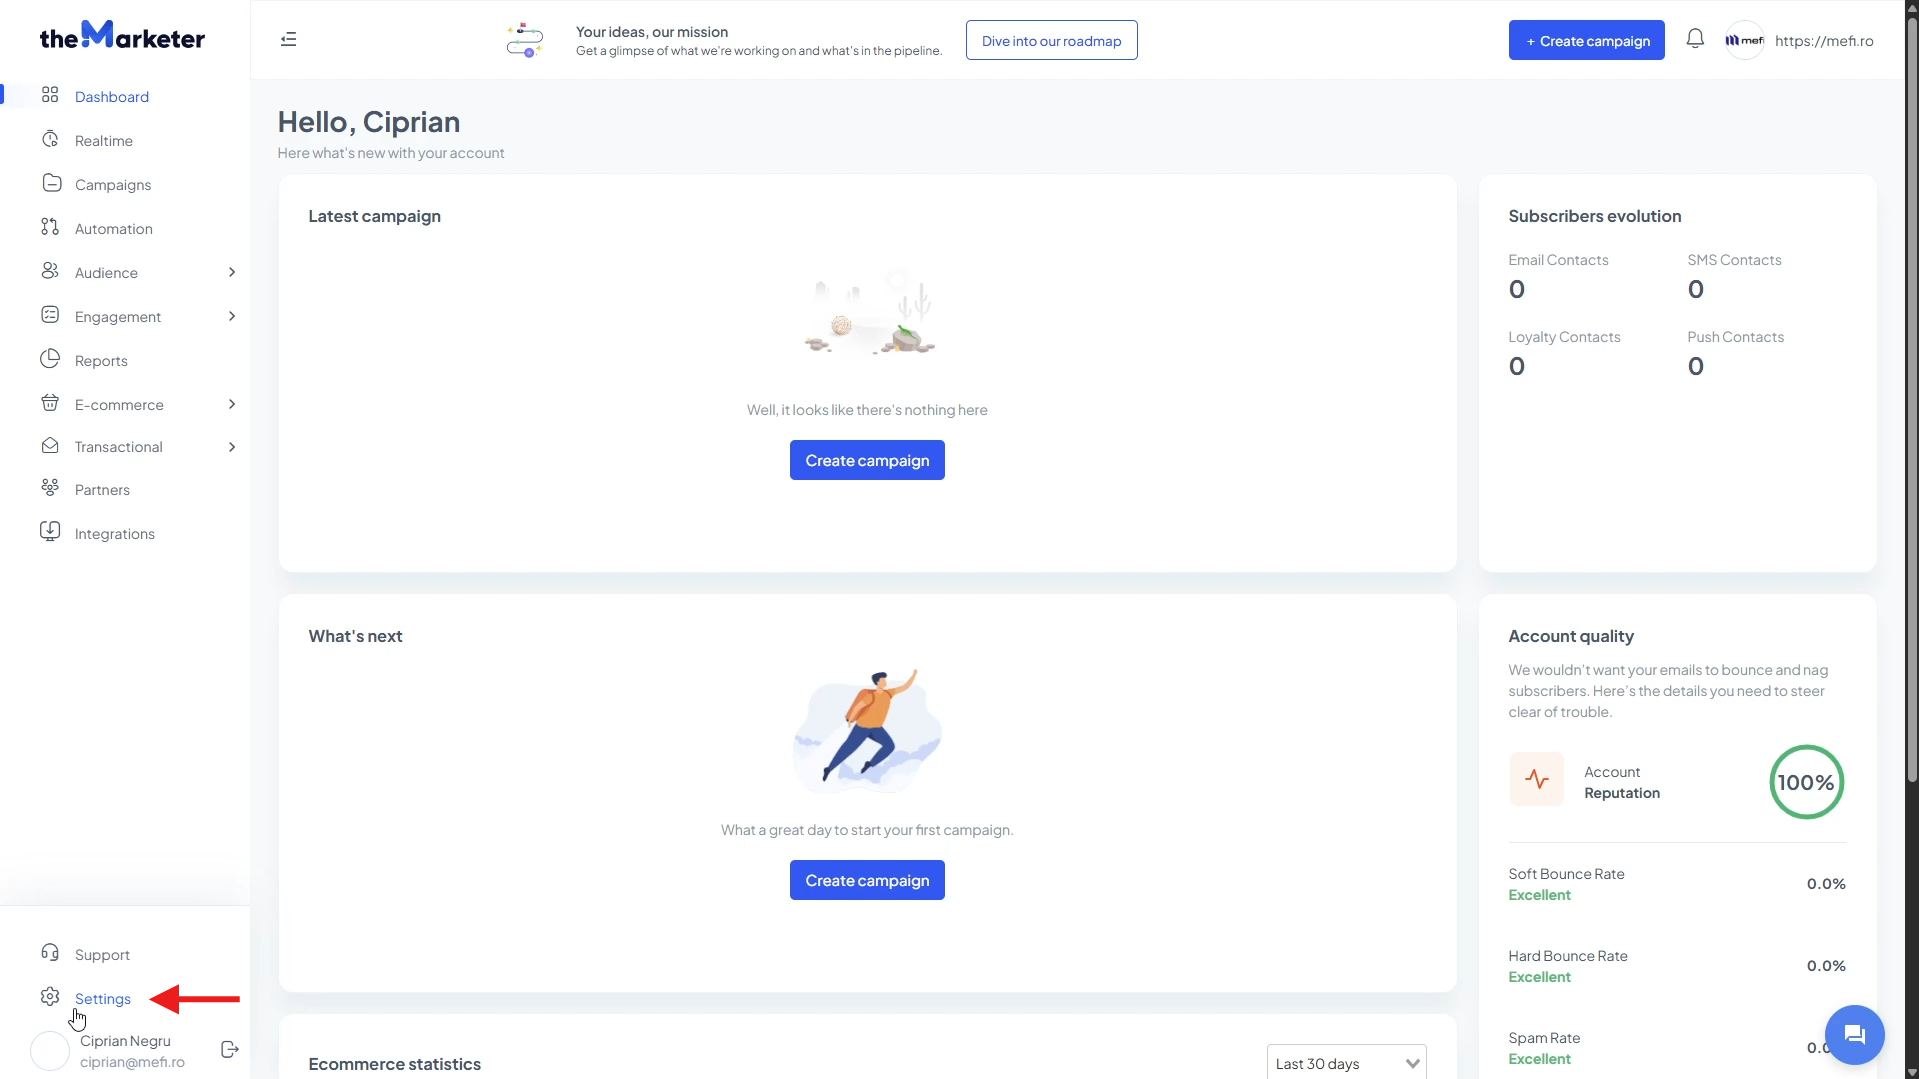
3. Retrieve your theMarketer credentials
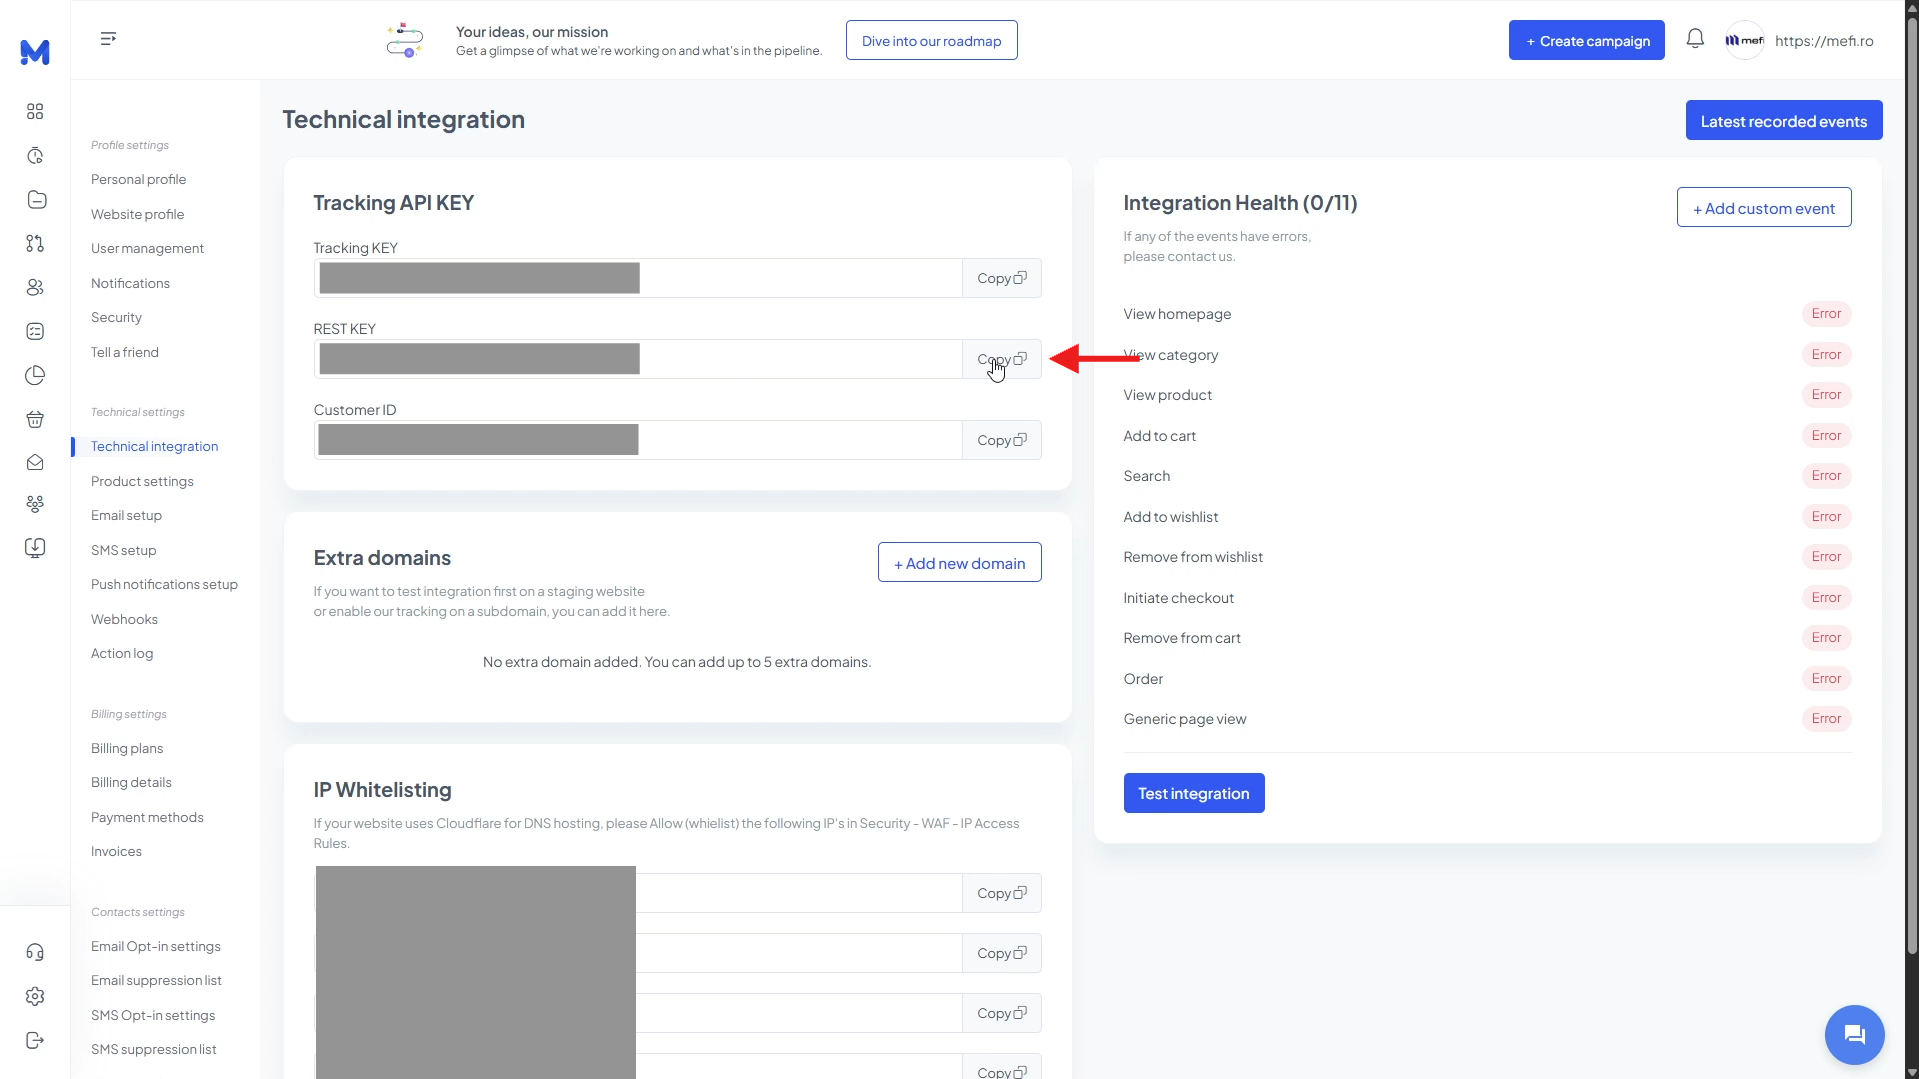
Log into your theMarketer account and click ‘Settings’ in the bottom-left corner of the platform.
Next, navigate to ‘Technical Settings’ > ‘Technical Integration’.
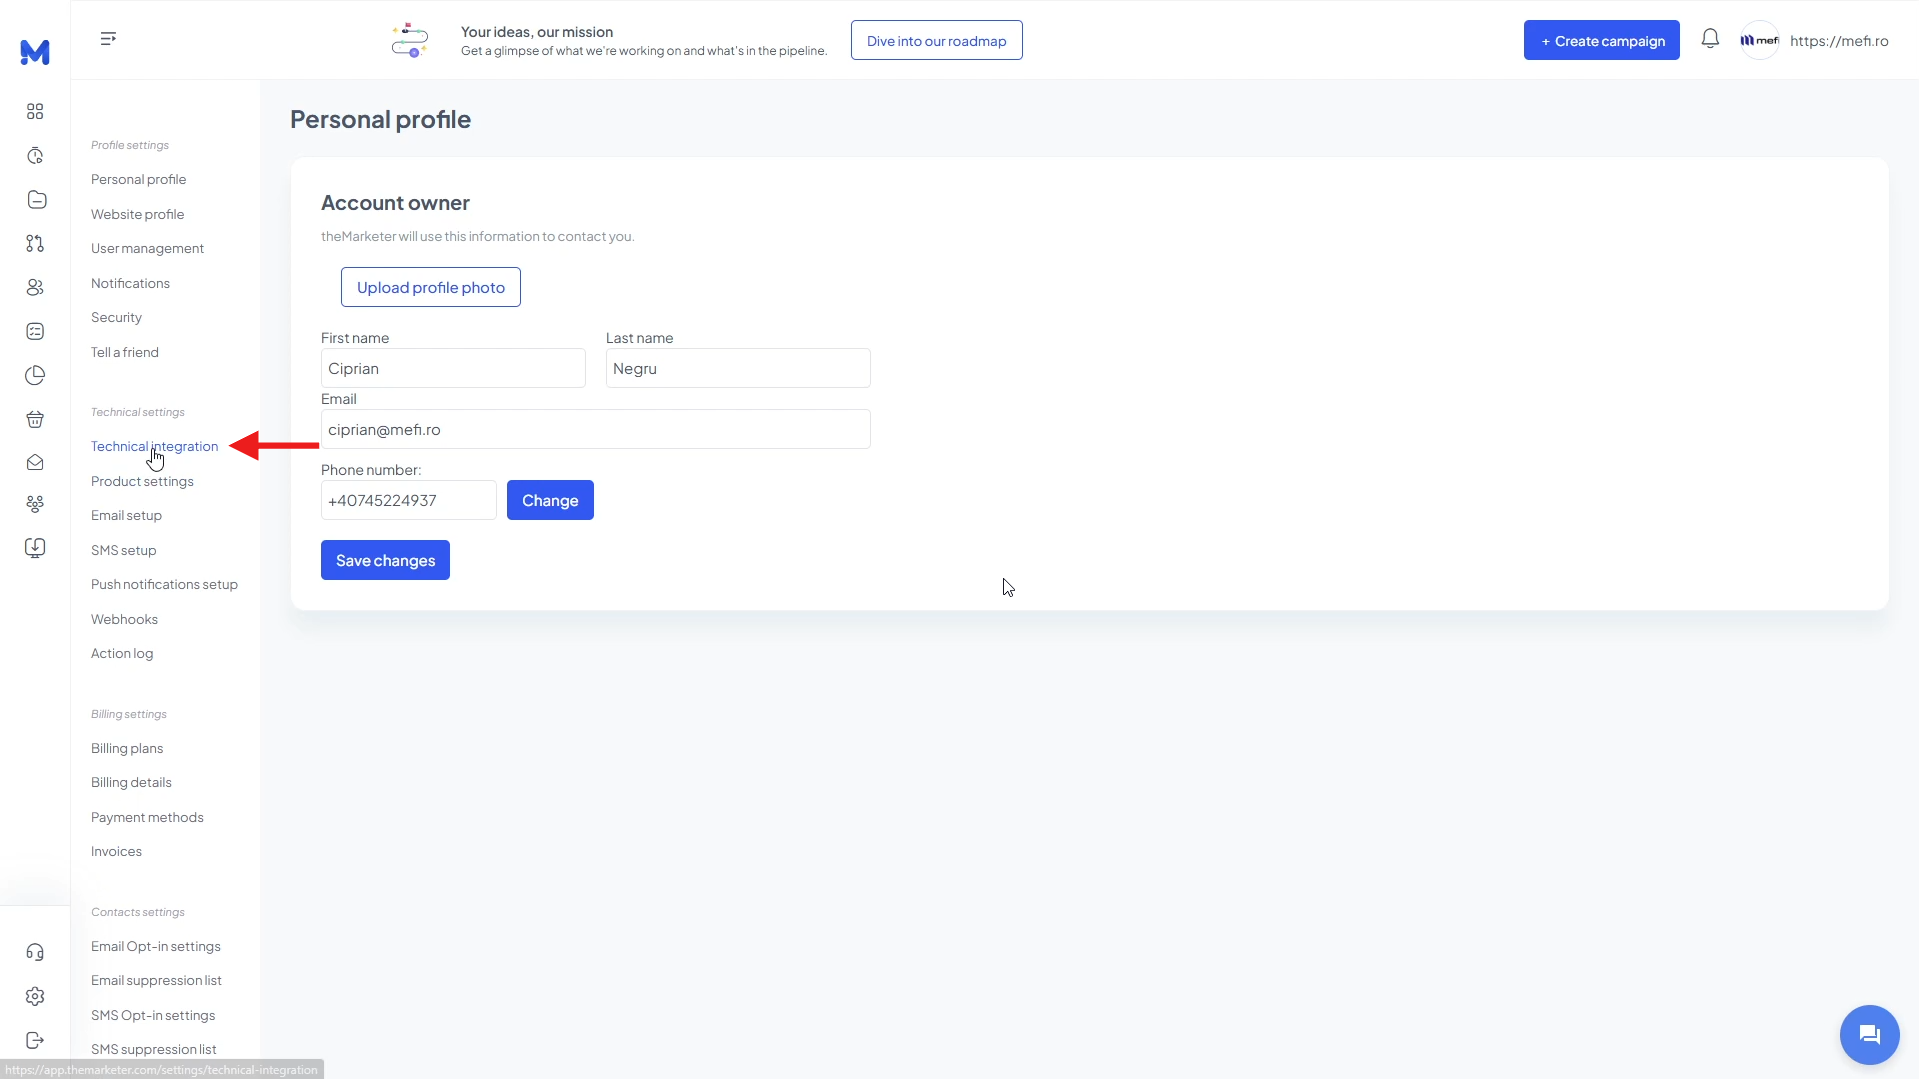
In the ‘Tracking API KEY’ section, copy both the REST KEY and the Customer ID by clicking their corresponding ‘Copy’ buttons.
4. Connect mefi to theMarketer
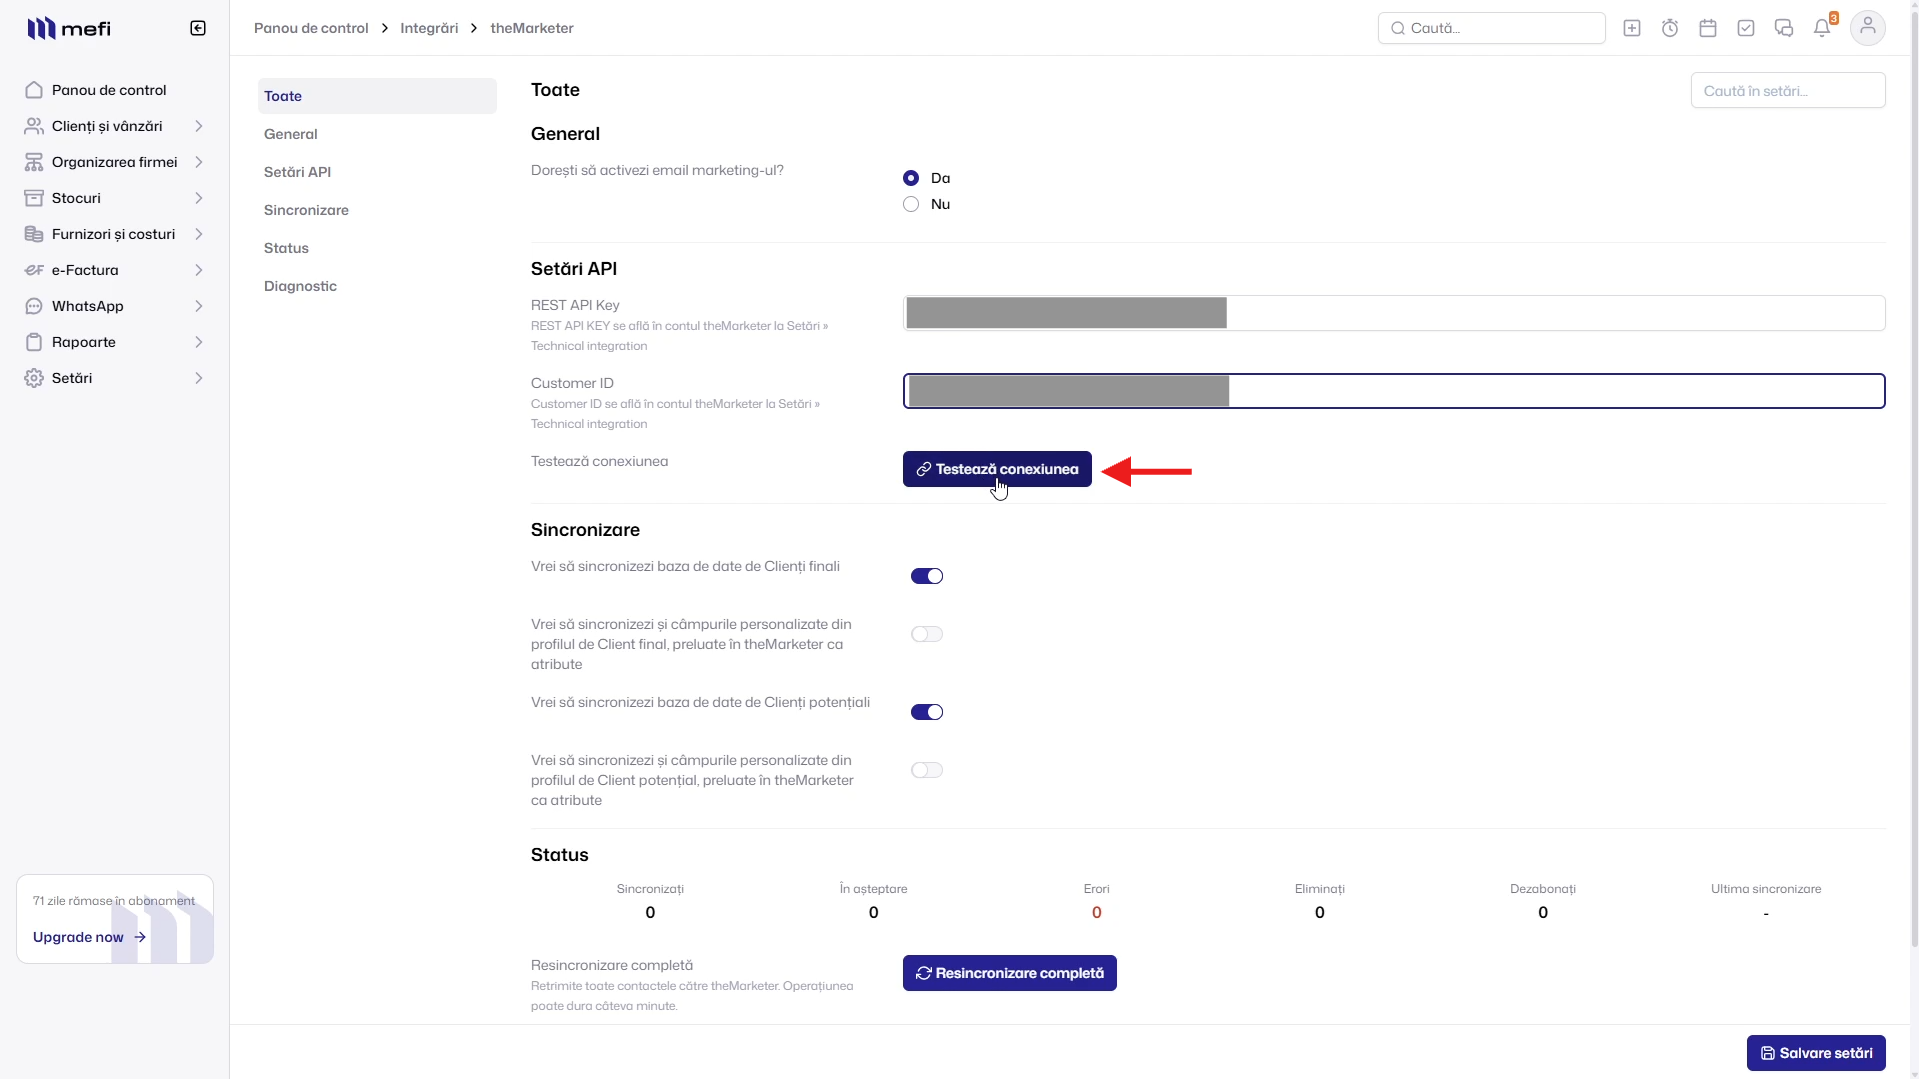
Return to mefi and paste the REST KEY and Customer ID into their corresponding fields.
Once you've entered the information, click ‘Test Connection’ to verify that the integration is working correctly.
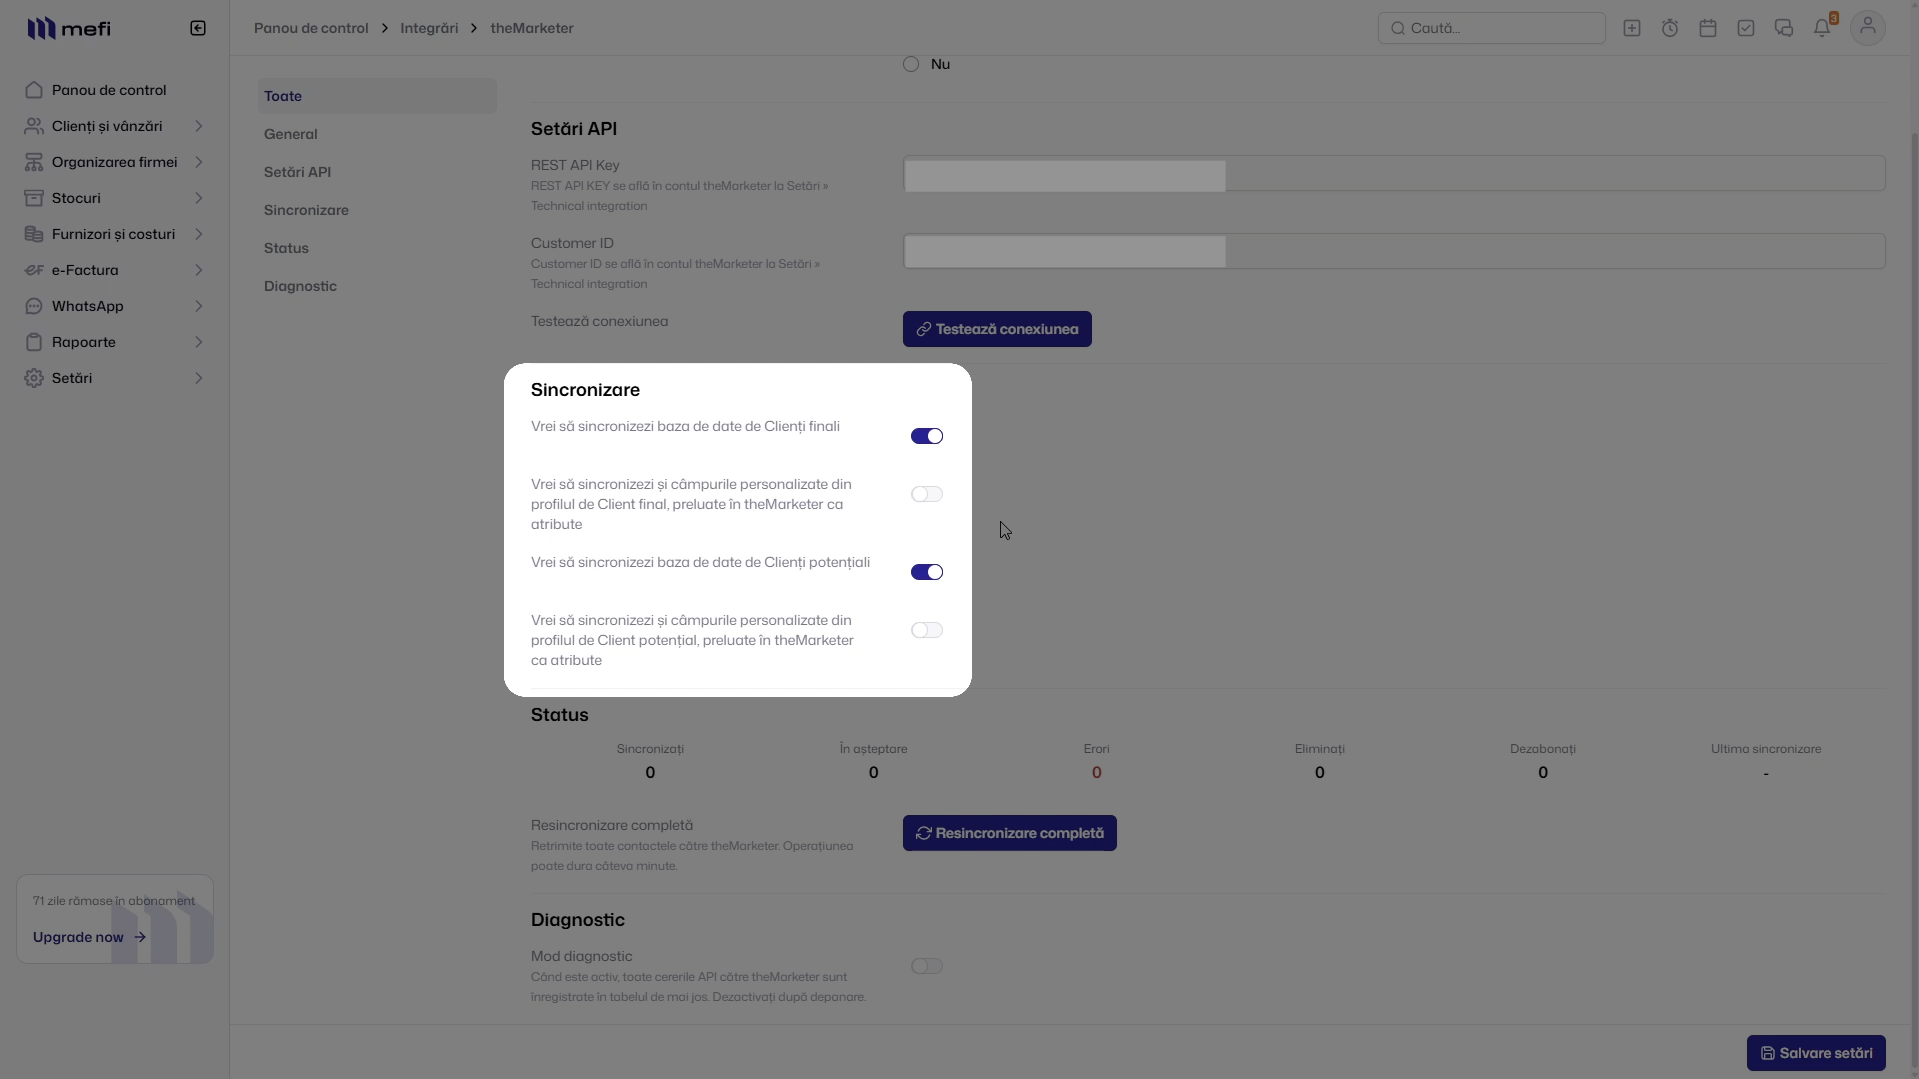
5. Configure your synchronization settings
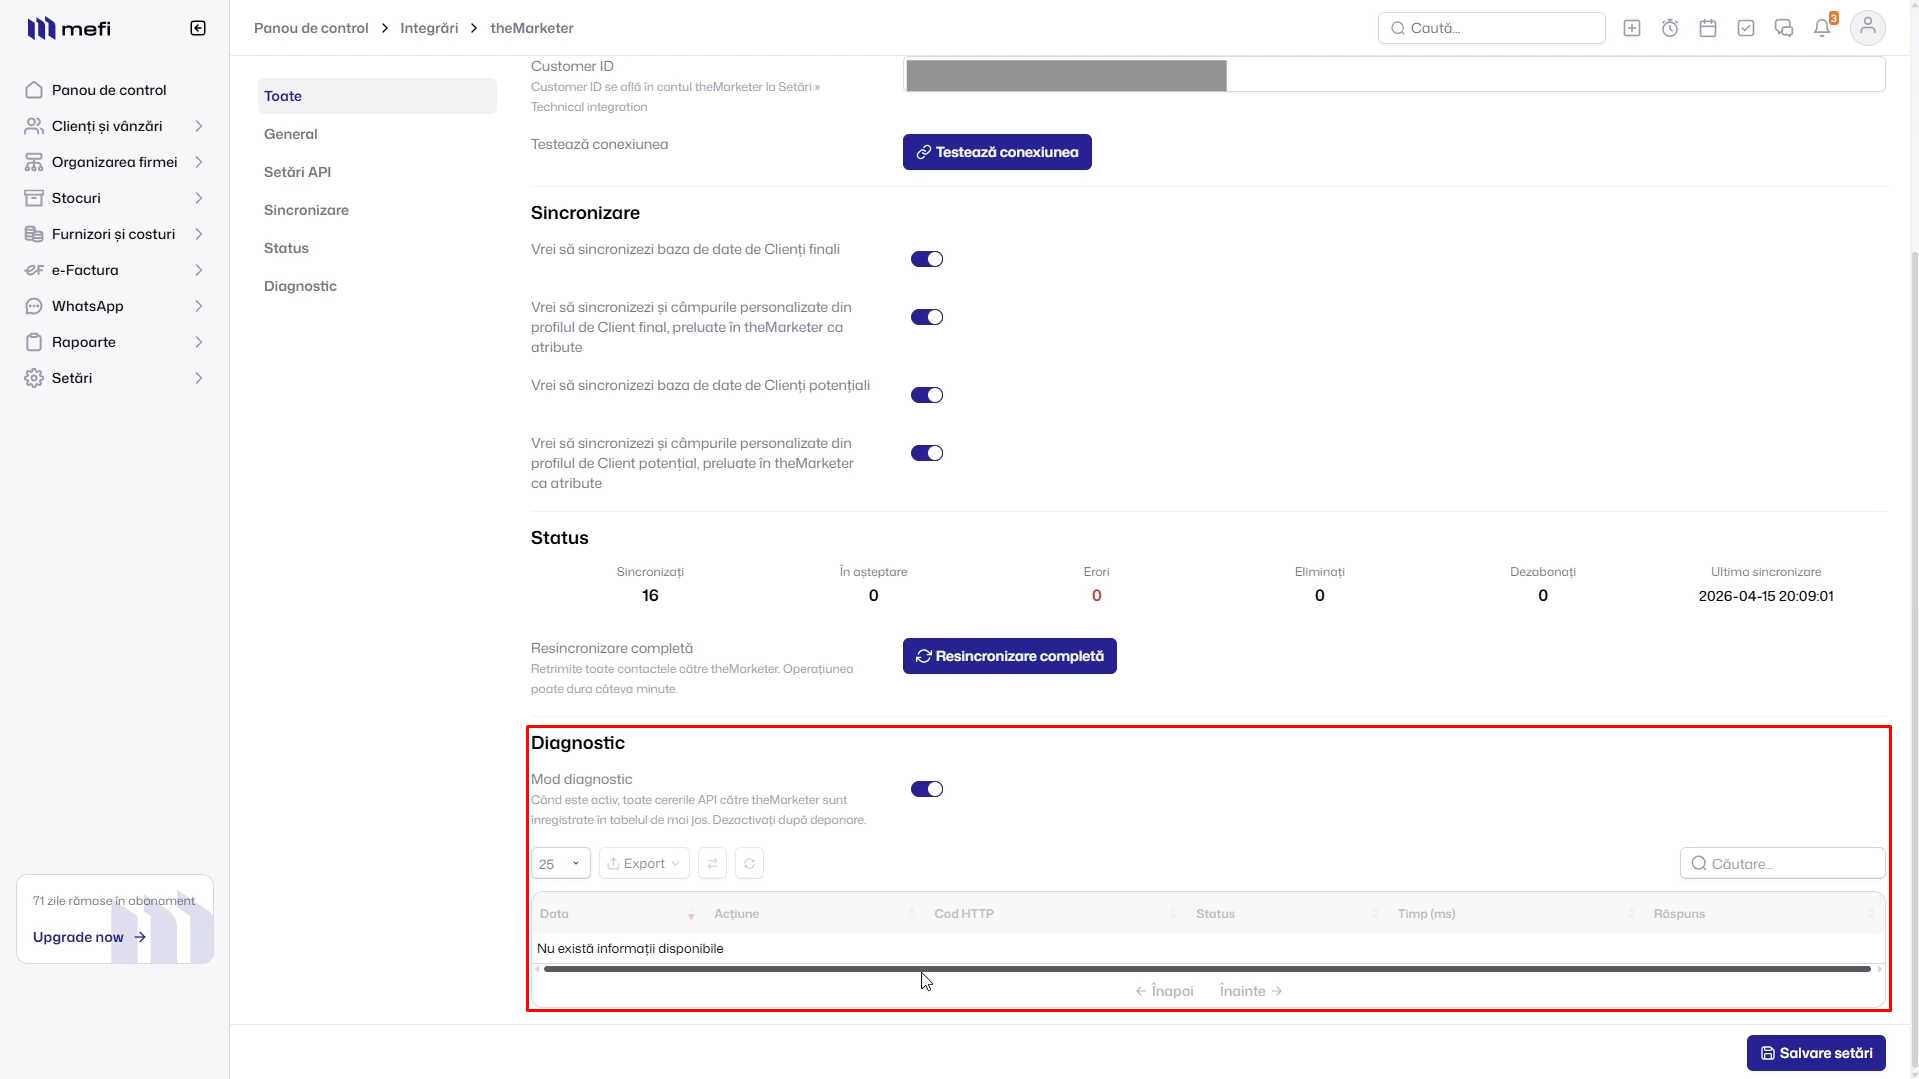
In the ‘Synchronization’ section, you'll find four switches that control which data is sent to theMarketer.
You can choose whether to synchronize:
- End customers
- End customer custom fields
- Leads
- Lead custom fields
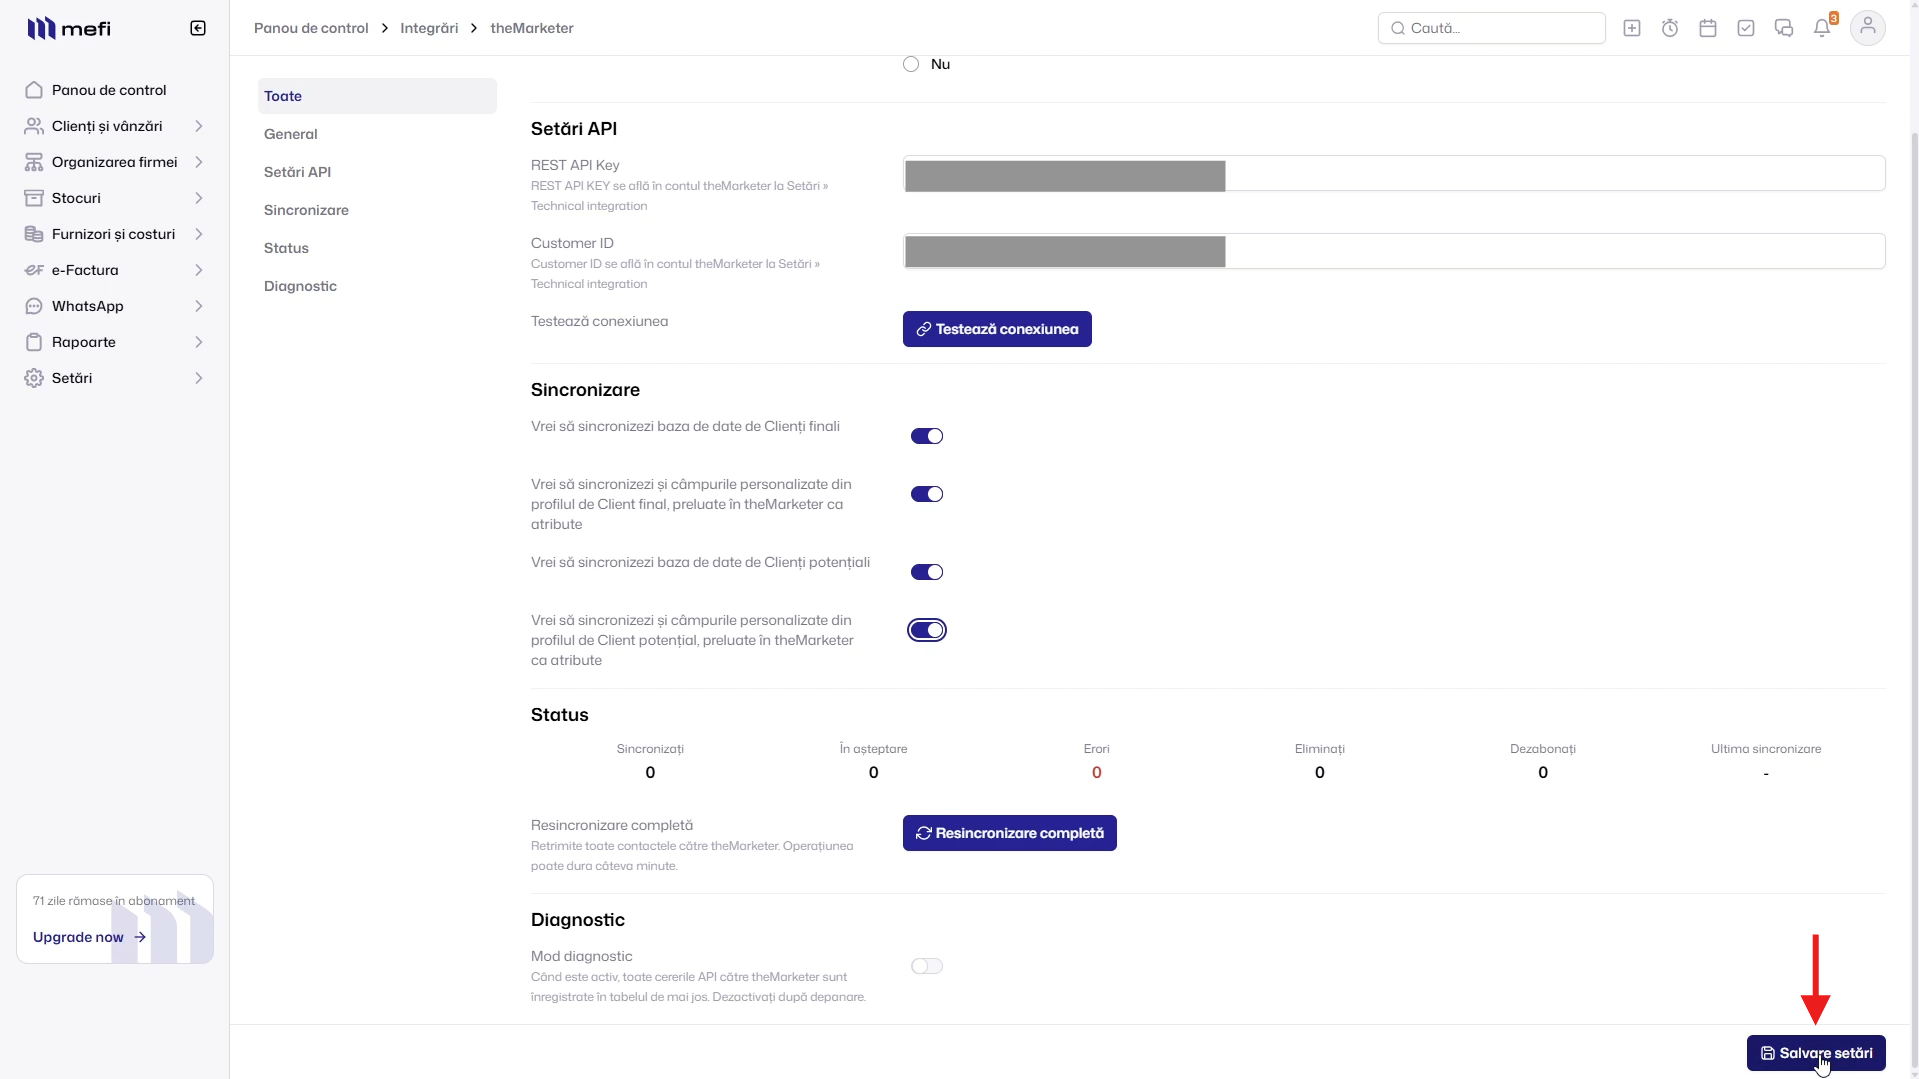
Enable the options that best fit your marketing strategy.
6. Save your settings
Once you've configured the synchronization options, click ‘Save Settings’ in the bottom-right corner of the page.
7. Perform the initial synchronization
To import your existing contacts into theMarketer, click ‘Full Resynchronization’ in the ‘Status’ section.
This step is typically performed only once, during the initial setup. It will send all existing contacts and selected data from mefi to theMarketer.

8. Verify the synchronization
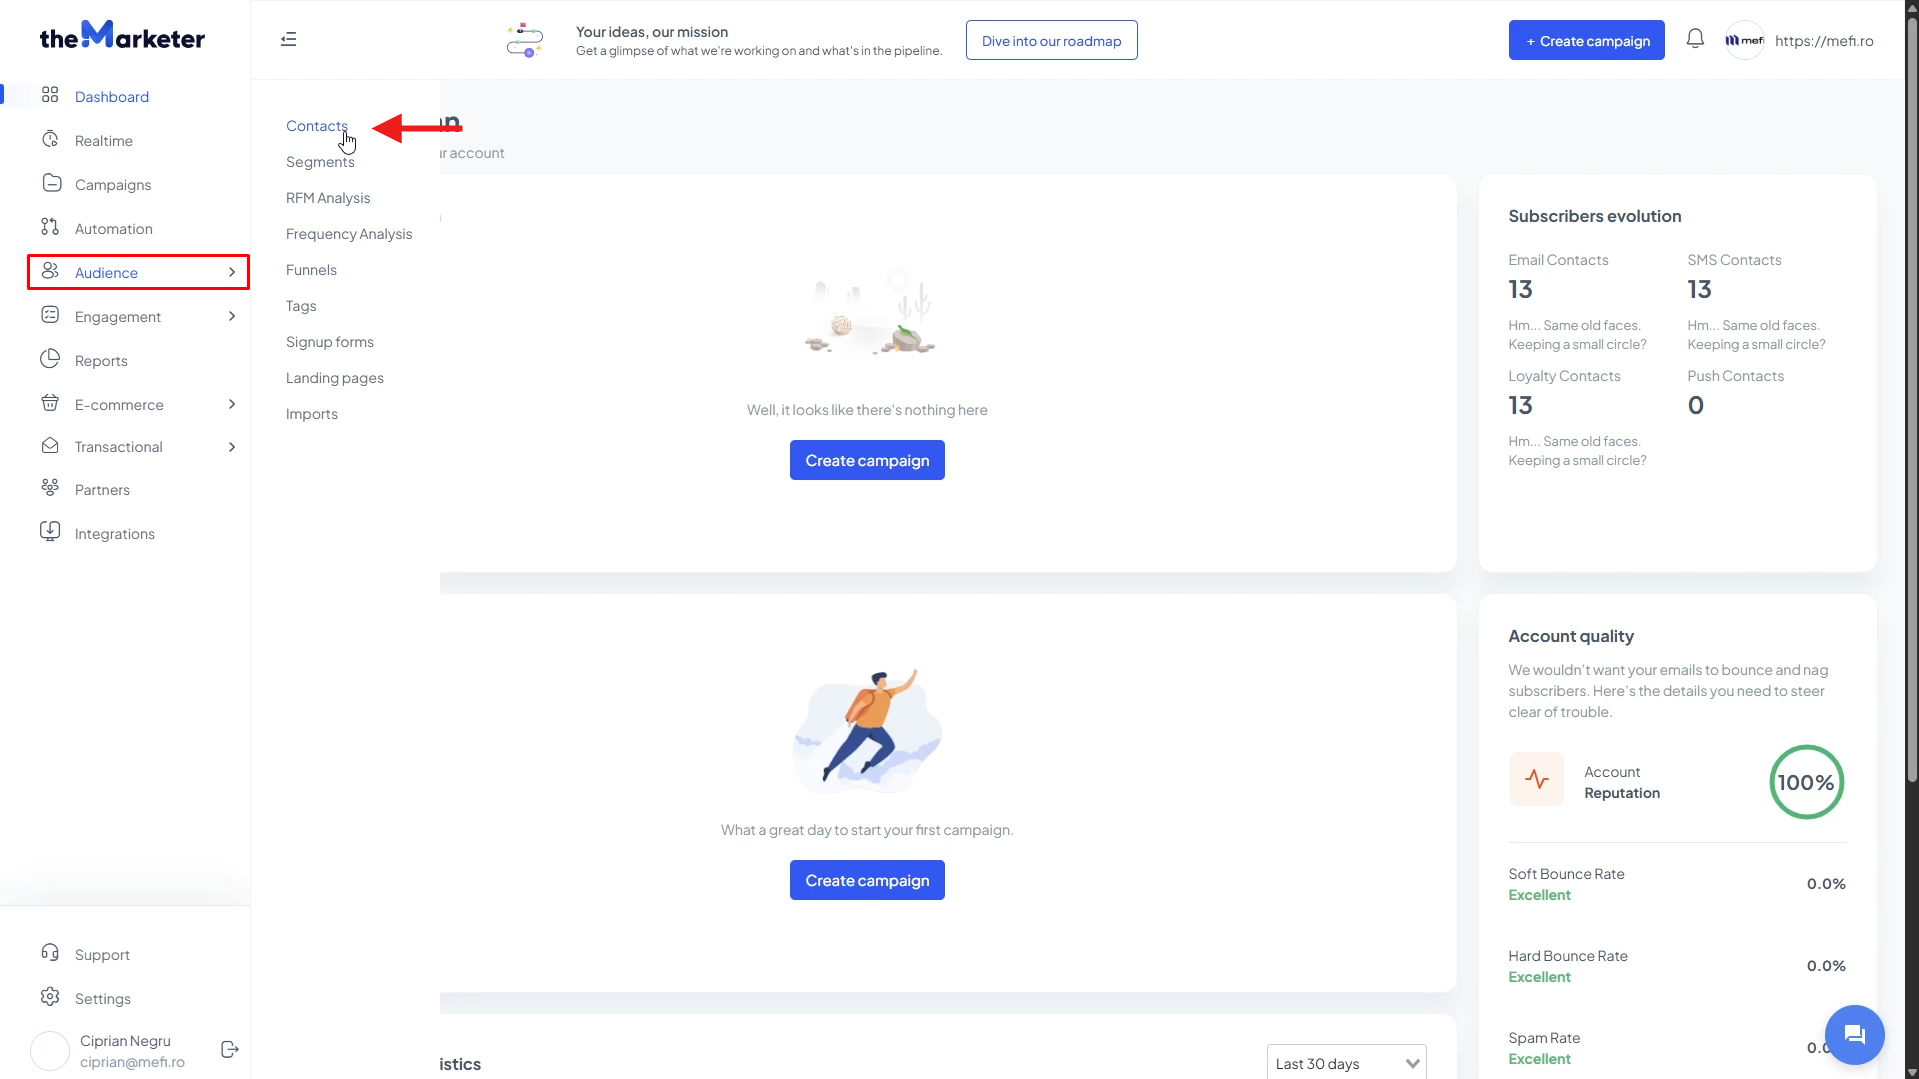
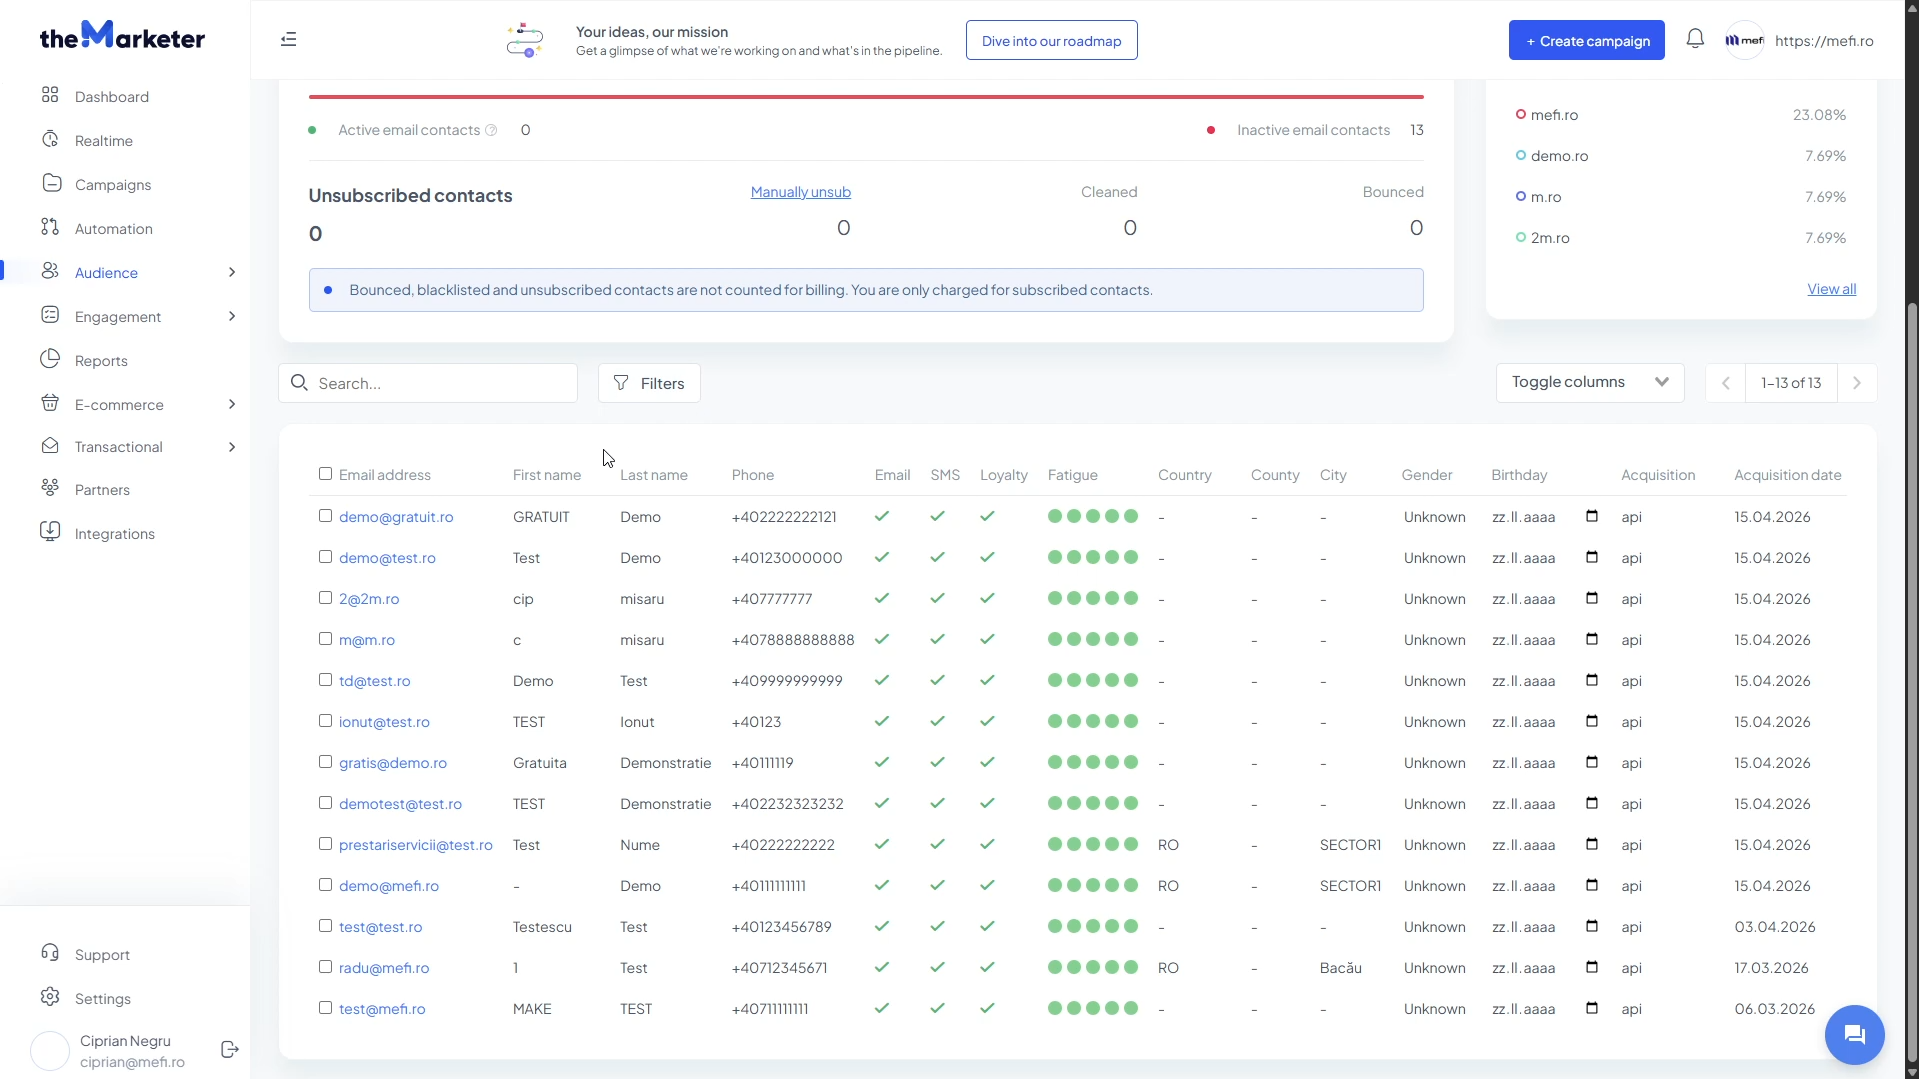
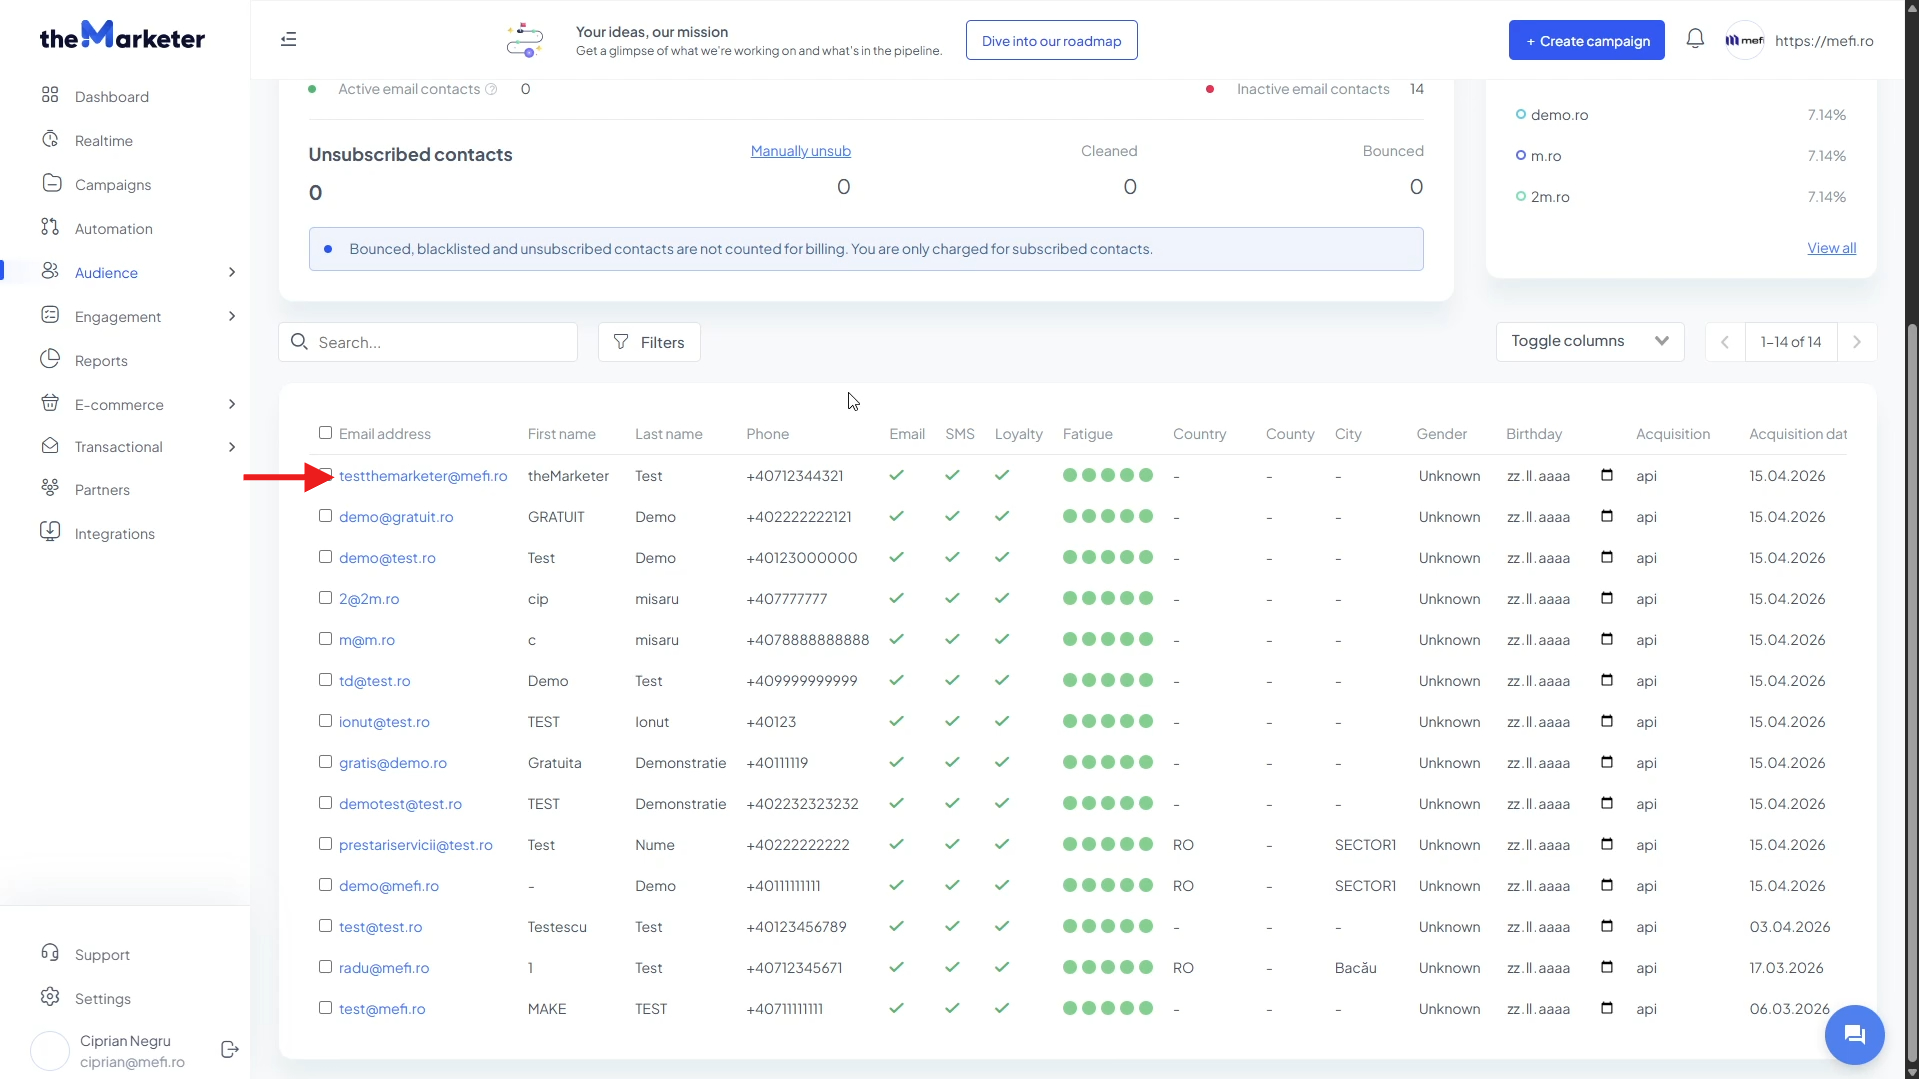
Once the sync is complete, head back to theMarketer and navigate to ‘Audience’ > ‘Contacts’.
You should now see your synchronized contacts, including information such as email address, first name, last name, phone number, purchase dates, and any other synchronized attributes.
9. Test the integration (optional)
If you'd like to confirm everything is working correctly, create a new customer or lead profile in mefi and fill in both the standard fields and any custom fields you've configured.
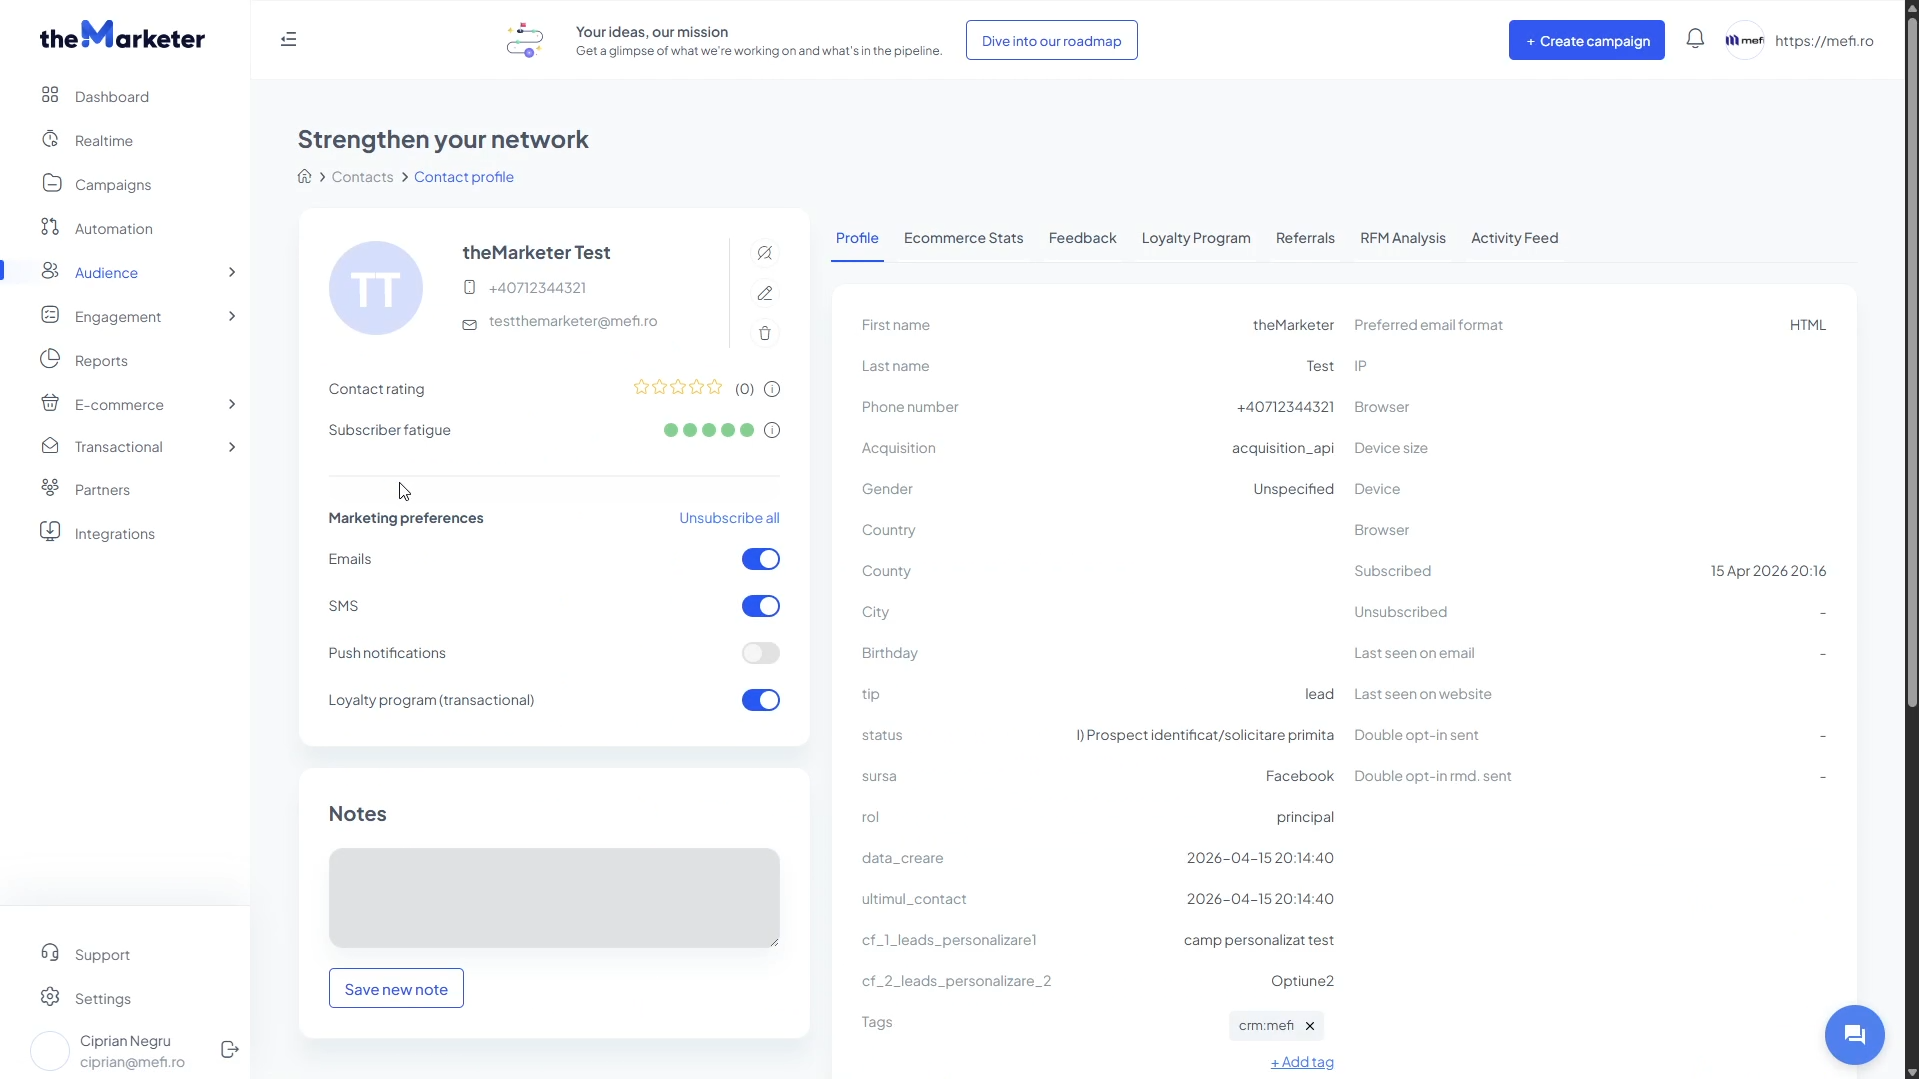
After saving the contact, return to ‘Audience’ > ‘Contacts’ in theMarketer. The new contact should appear automatically at the top of the list.
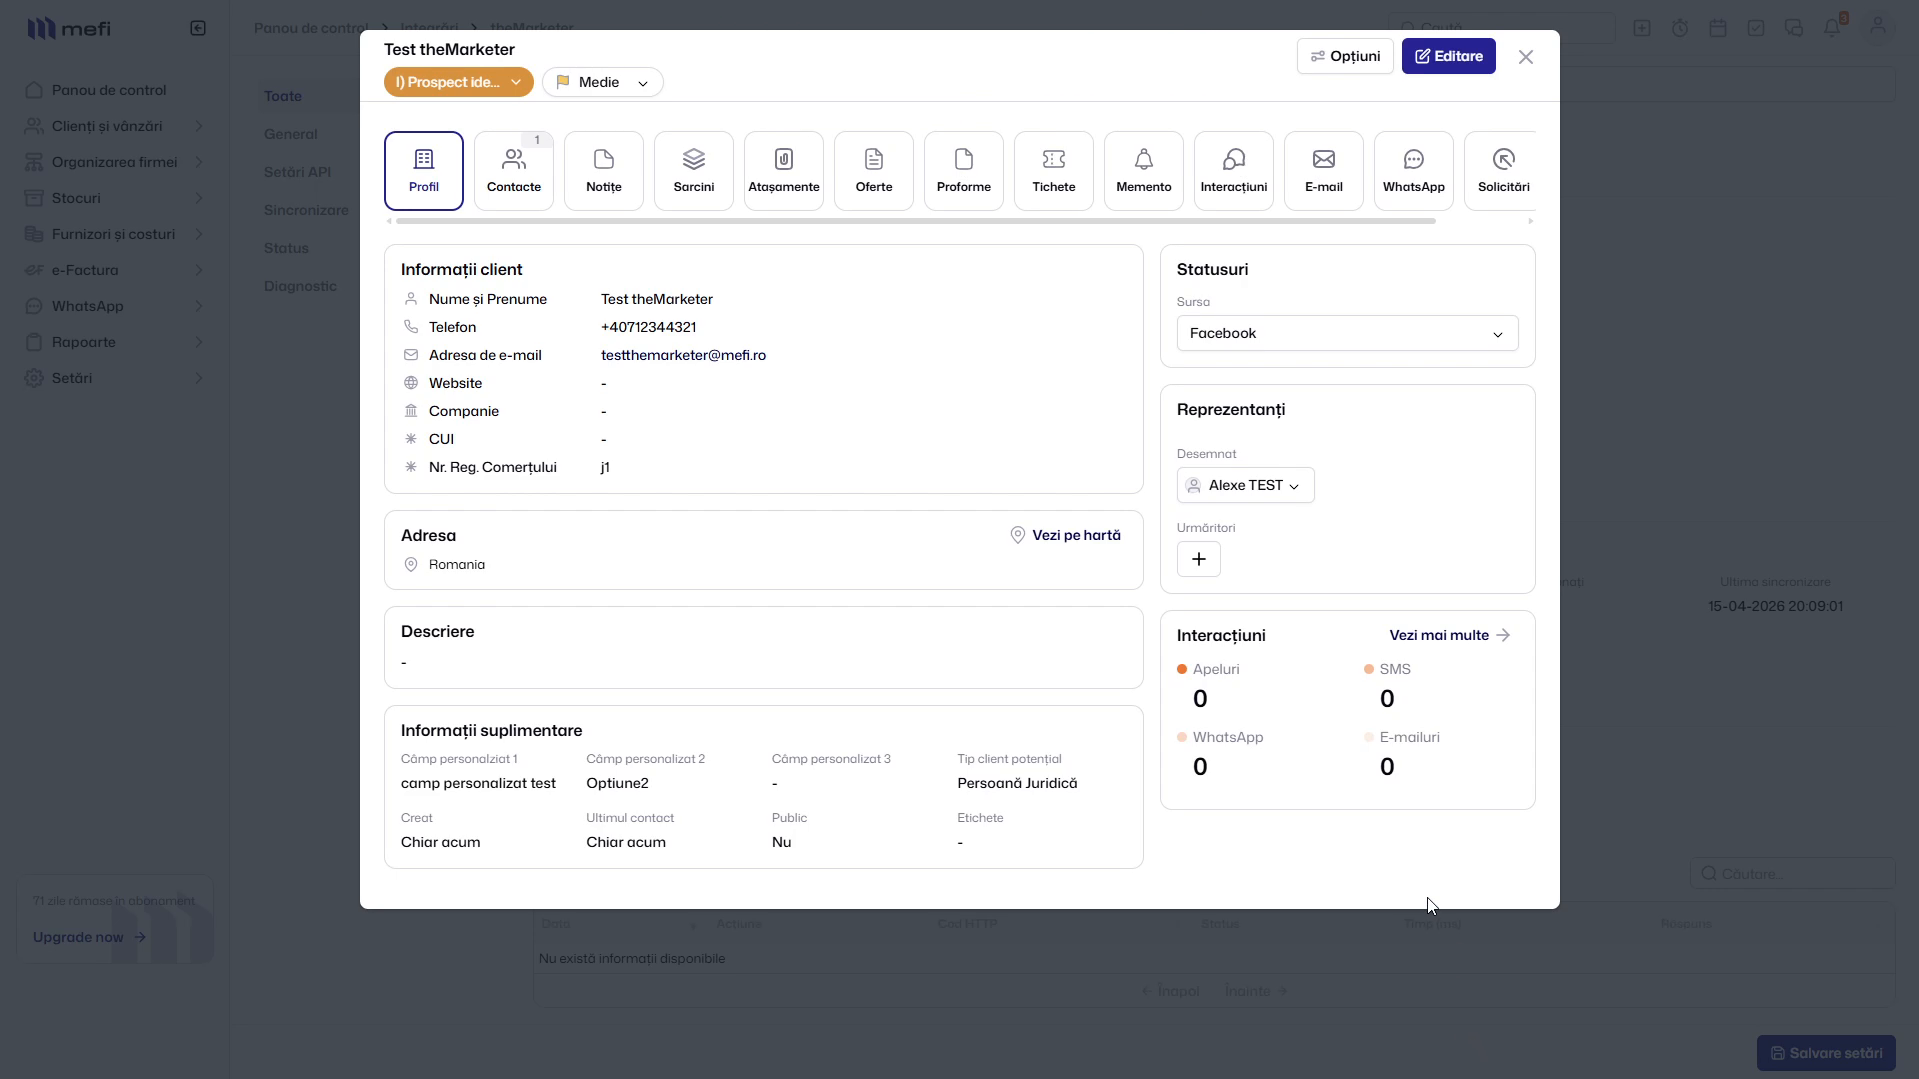
Click the contact to open their profile and verify that all information, including custom fields, has been synchronized correctly.
10. Diagnostic mode
At the bottom of the integration settings page in mefi, you'll find a ‘Diagnostic’ section.
We recommend keeping this option disabled during normal operation and only enabling it temporarily when troubleshooting potential integration issues.
And… you're done!
Your mefi account is now connected to theMarketer. From now on, contacts, leads, custom fields, and subscription preferences will stay synchronized automatically, giving you a reliable foundation for segmentation, personalization, and marketing automation.
In addition to real-time contact synchronization, the integration supports advanced capabilities such as custom field mapping, bidirectional unsubscribe synchronization, GDPR-compliant data anonymization, and smart deduplication that only sends updated information between platforms.
If you need assistance with your mefi integration or would like to explore advanced segmentation and automation strategies, don't hesitate to reach out. Our team is always happy to help you get the most out of your marketing efforts.
Related articles
STILL HAVE QUESTIONS?