/ Knowledge base /
How to create an automated welcome seriesHow to create an automated welcome series
Starting on the right foot is essential, especially in the world of email marketing. When someone decides to join your mailing list, it's like they've just walked into your brand's home. What better way to greet them than with a warm, personalized welcome series?
theMarketer’s automation editor is here to make this task not only manageable but downright delightful. If you're ready to roll up your sleeves, here’s how you can craft a memorable welcome experience!
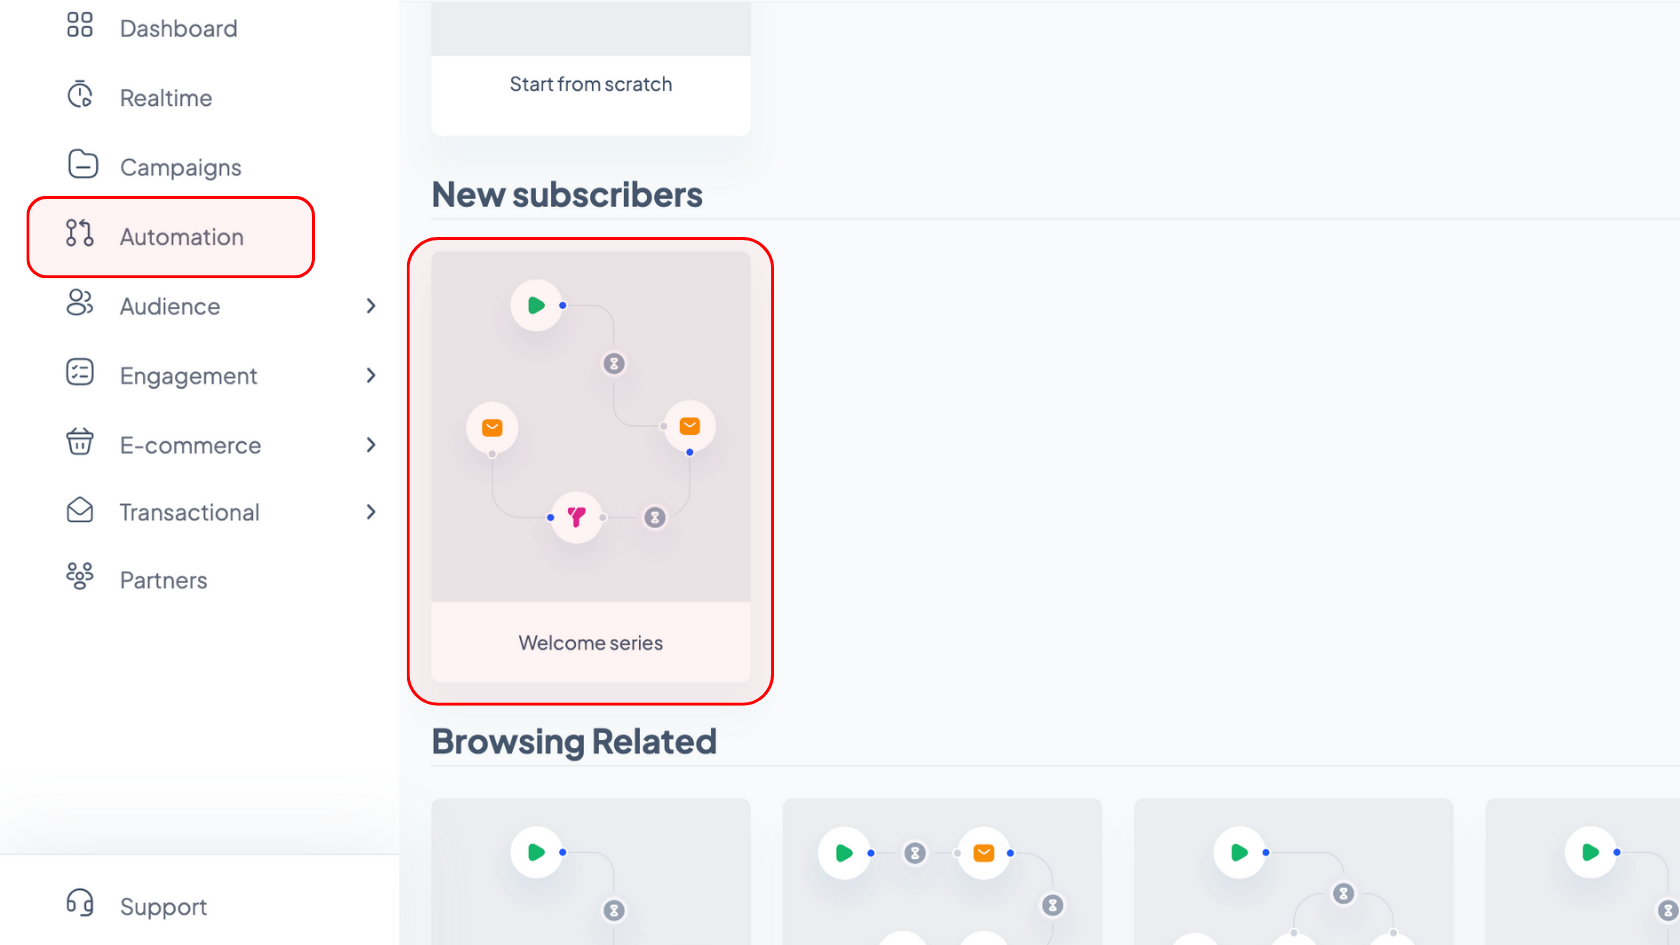
1. Go to ‘Automation’ and set up a ‘Welcome series’ journey
Click the ‘+ Create journey’ button on the top right of the screen, scroll down to ‘New subscribers’ template section, select the ‘Welcome series’ template, and click the ‘Setup journey’ button.
2. Use the editor to customize your email flow
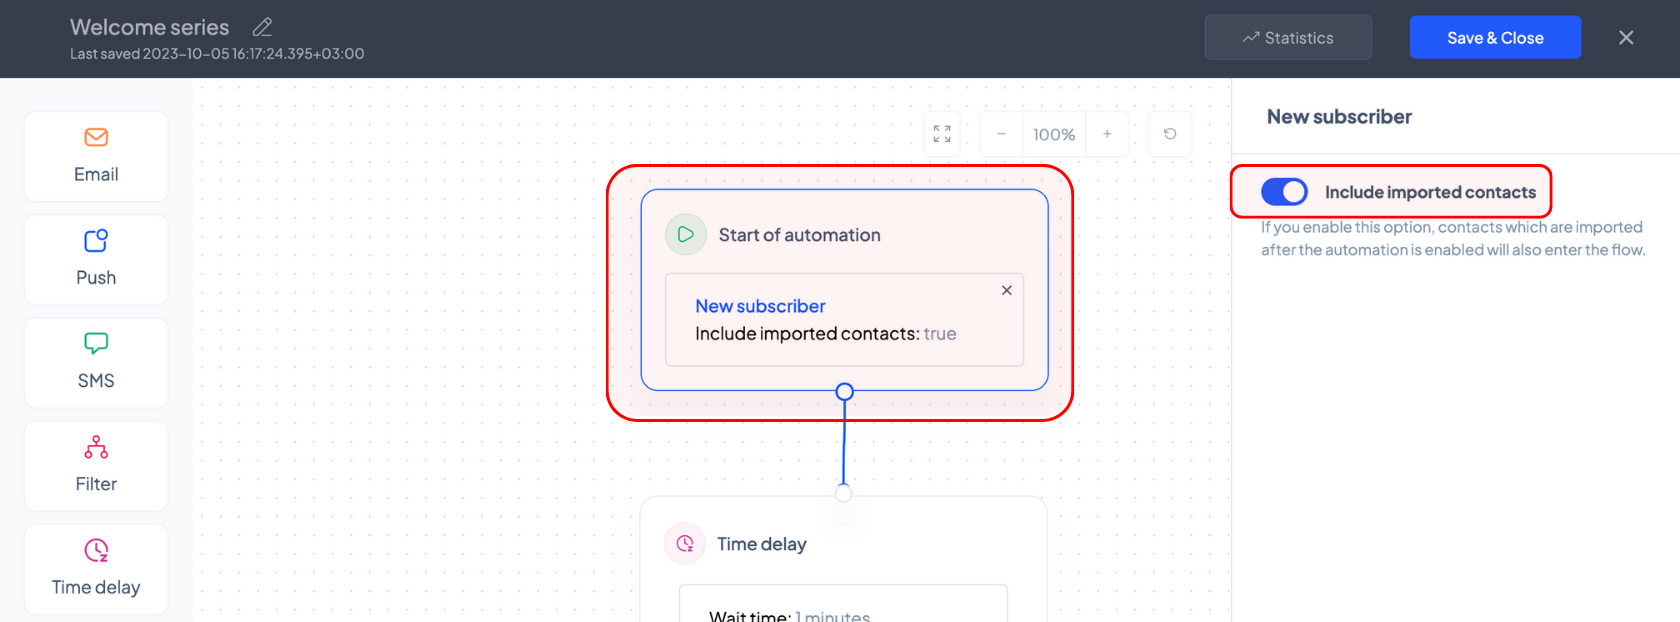
a. Determine the starting point of the automation
Click the ‘Start of automation’ block and use the options on the right to decide whether you’d like the contacts imported after this automation is enabled to receive your welcome emails.
For example, let’s suppose your welcome series automation is already running and at some point you need to import certain contacts you’ve collected via partners or offline events. If you’ve previously enabled this option (set the ‘Include imported contacts’ toggle button to blue), these subscribers will start receiving your welcome emails following the import. Otherwise, they will not receive these automated messages.
b. Set a time delay
The next box in the editor indicates how much time should pass from the moment a user subscribes to your newsletter until they receive the first email of your welcome series. Click the ‘Time delay’ block, use the dropdown to select the unit of time, and indicate the desired duration in the field preceding it.
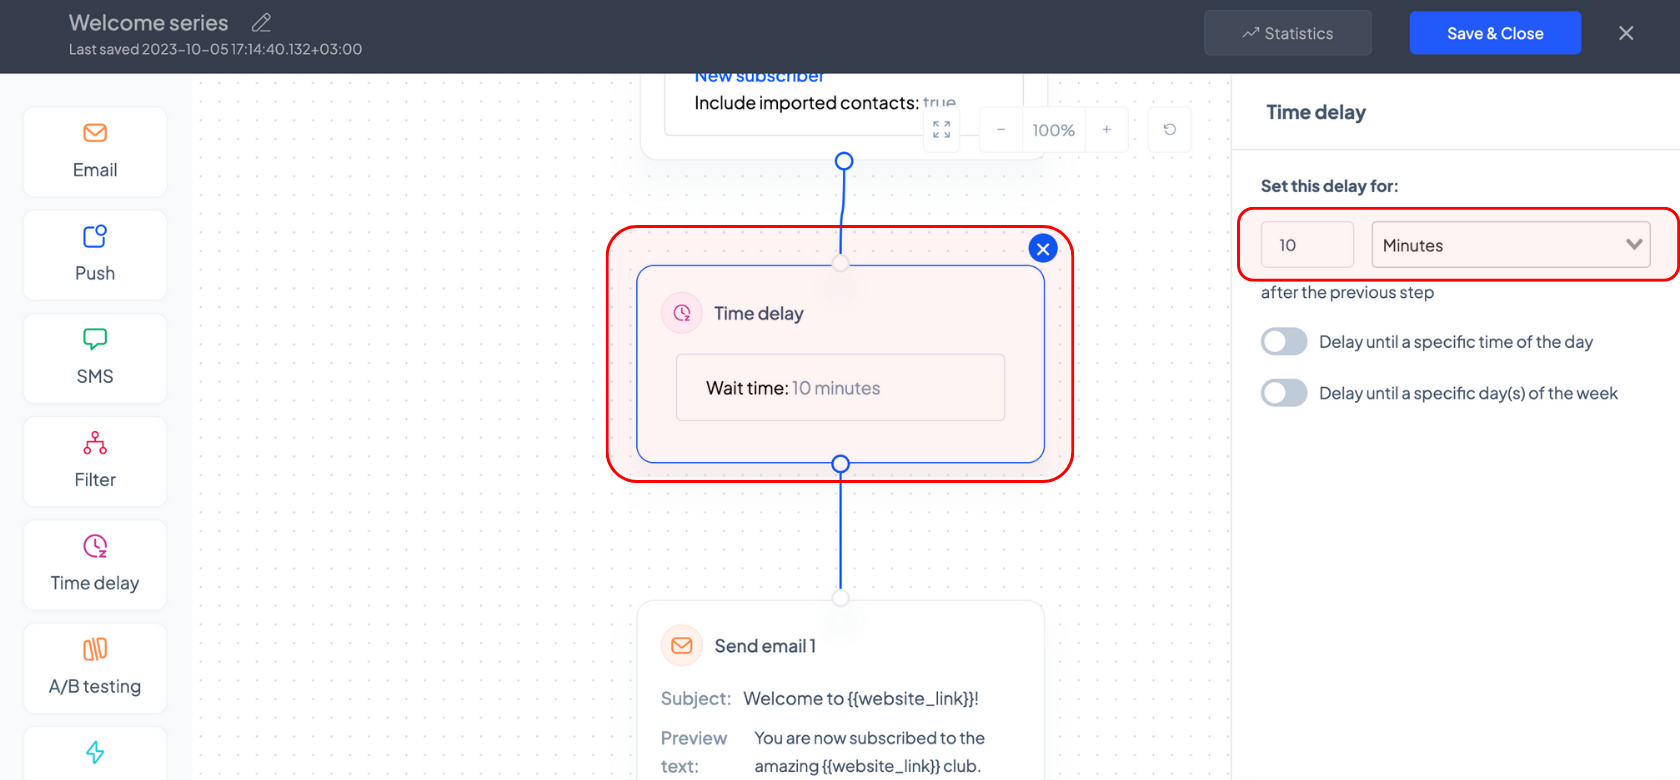
You can also delay the email until a specific time of the day by turning on (blue) the ‘Delay until a specific time of the day’ toggle button and using the dropdown to select the exact time (AM or PM).
Similarly, you can opt to delay the campaign until specific days of the week by turning on (blue) the ‘Delay until a specific day(s) of the week’ toggle button and clicking the desired days.
For example, if you’d like to send out your initial email campaign 10 minutes after the user has been added to your contact list, simply type ‘10’ and select the ‘Minutes’ option from the dropdown list, keeping every other option disabled.
If you’d like your email to be sent out at 10:45 AM, you would need to also enable the specific time option and select ‘10’ in the first dropdown list, ‘45’ in the second one, and click ‘AM’. Keep in mind that if your subscribers join your list before the time of the day you set they will receive your email the same day, otherwise they will receive it the following day at the set time.
Similarly, if you’d like your initial email to be sent on a Wednesday, Friday, Saturday, or Sunday as soon as a user joins your email list, you would need to enable the specific day of the week option and click on ‘W’, ‘F’, ‘Sa’, and ‘S’. To add the time of day on those days that your campaigns will be sent out, enable the specific time option and select the desired time.

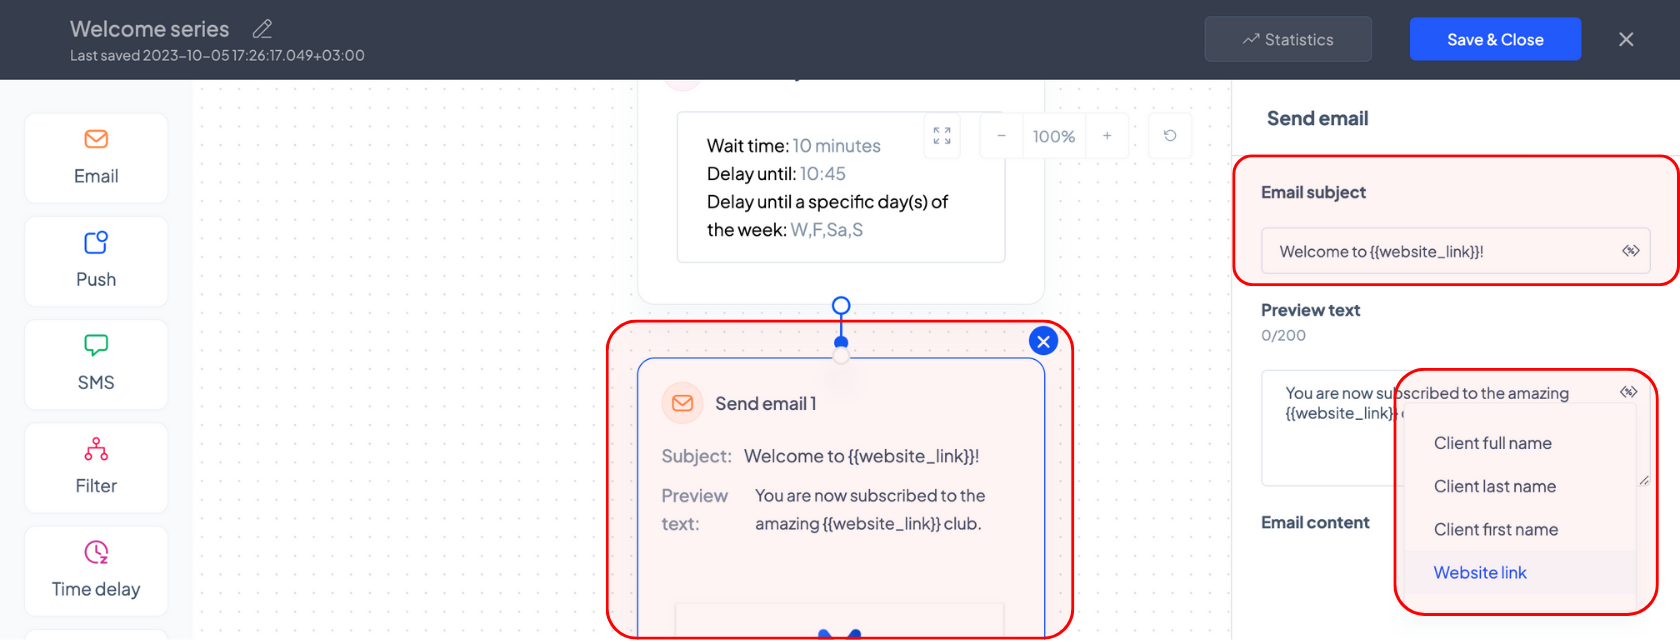
c. Design your email campaign
The next box in the editor allows you to edit the email campaign which will be sent to every contact that enters the automation flow.
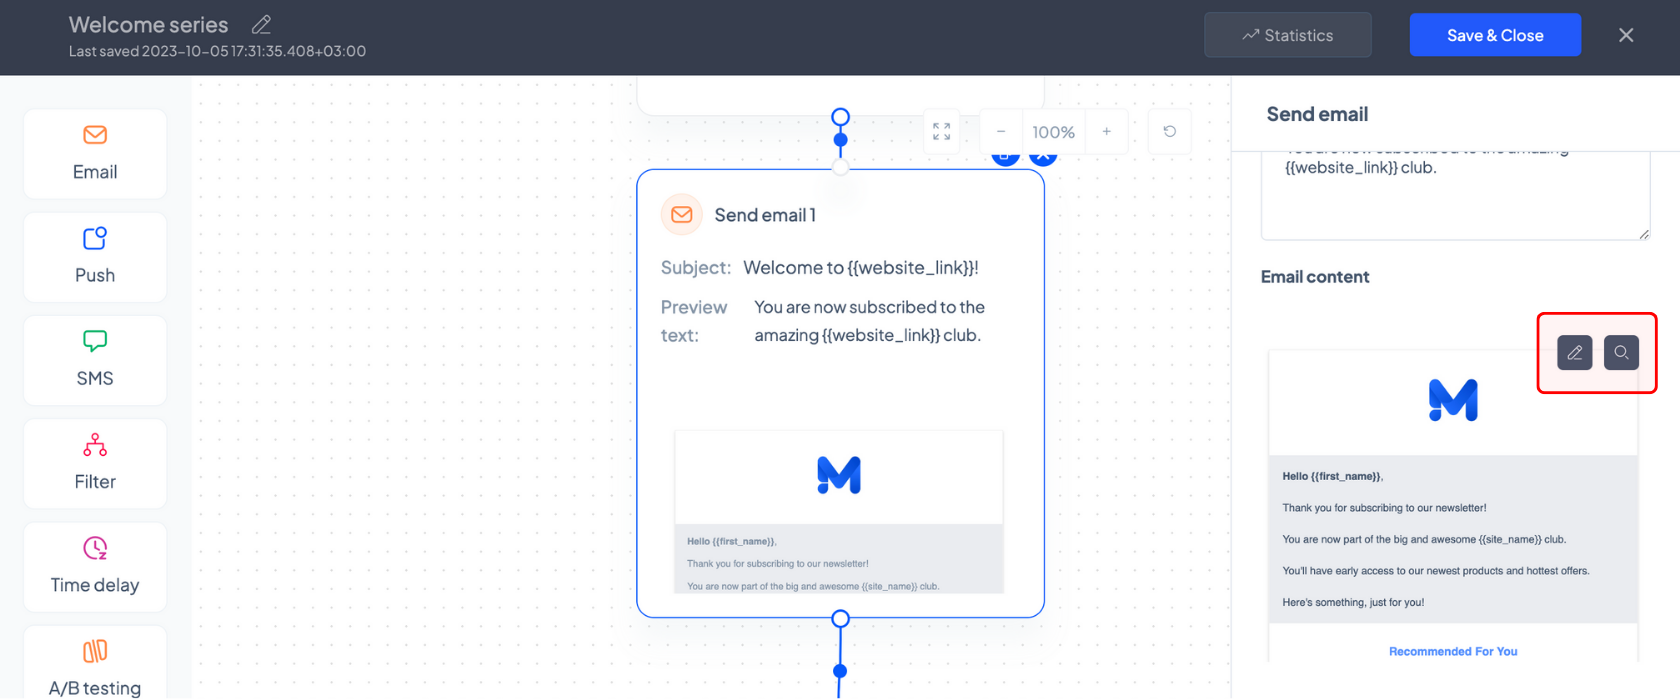
Click the ‘Send email 1’ block and use the options on the right to edit the subject line and the preview text of your campaign. By clicking the ‘<%>’ icon, you can also insert various personalization tags, such as your customer’s full / first / last name or your website link.
To edit or preview the content of your email, hover your cursor over the ‘Email content’ section and click on one of the two dark grey buttons that will appear (the left one to edit your campaign and the right one to preview it).
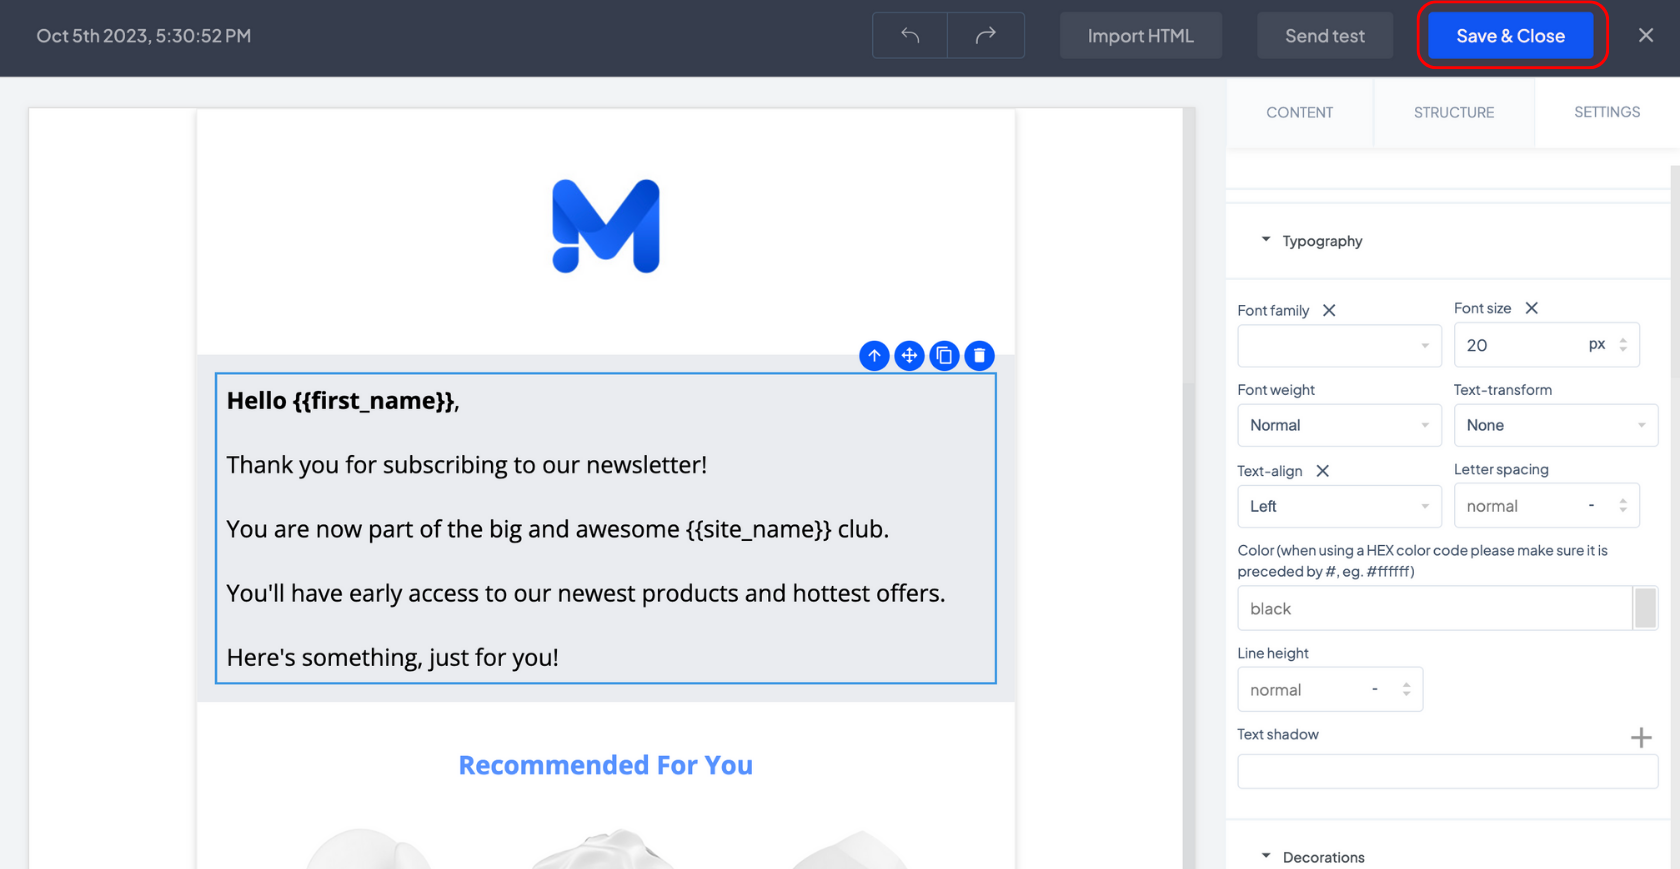
If you choose to edit your campaign, you will be redirected to the newsletter builder. Once you’re done editing your campaign, press the ‘Save & Close’ button and you will be redirected back to the automation builder.
Under the ‘Campaign UTM’ section you will see the default UTM structure for your feedback request campaigns, which you can customize if you wish.
d. Turn subscribers into customers
Not every subscriber is ready to purchase something from you immediately. You will need to consolidate that relationship by sharing your vision, story, extended product offering, or even special deals with them. And you can automatically do this by sending a second, third, or even fourth email.
Click the ‘Time delay’ block to determine how long you should wait until sending the second campaign in your welcome series to your subscribers.
Once that time has passed, you can filter the recipients of the follow-up campaign based on whether they have engaged with the initial email or not.
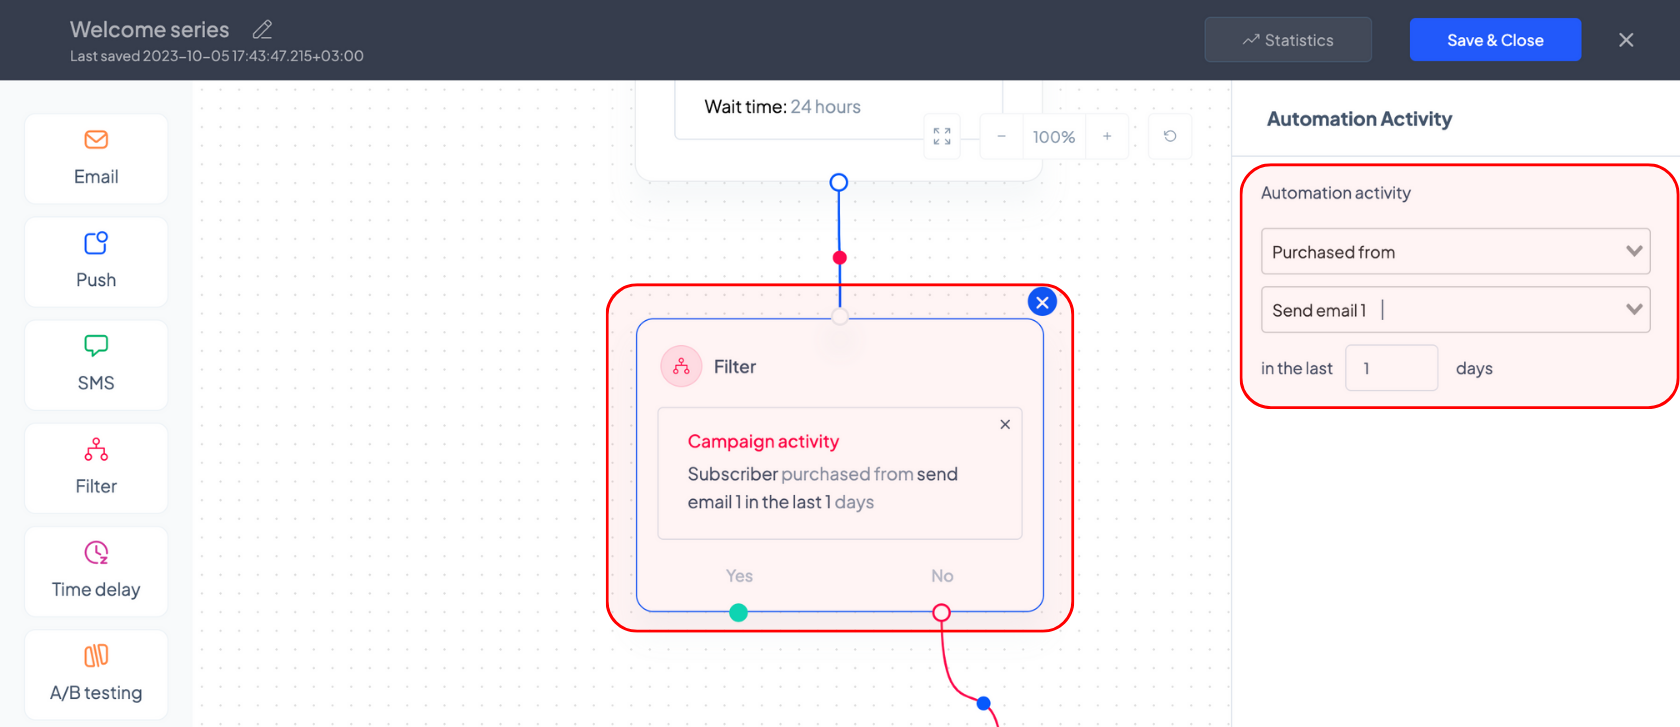
To do so, click on the ‘Filter’ block and on the right side, expand the ‘Campaign activity’ section, click on ‘Automation activity’, select the ‘Purchased from’ option in the first dropdown list and ‘Send email 1’ in the second list, and lastly, specify the time period during which the users should have purchased as a result of your campaign in order for them to be excluded from the second one.
For example, if you’re setting your ‘Time delay’ wait time to 24h, your customers would have 1 day to engage with the initial email.
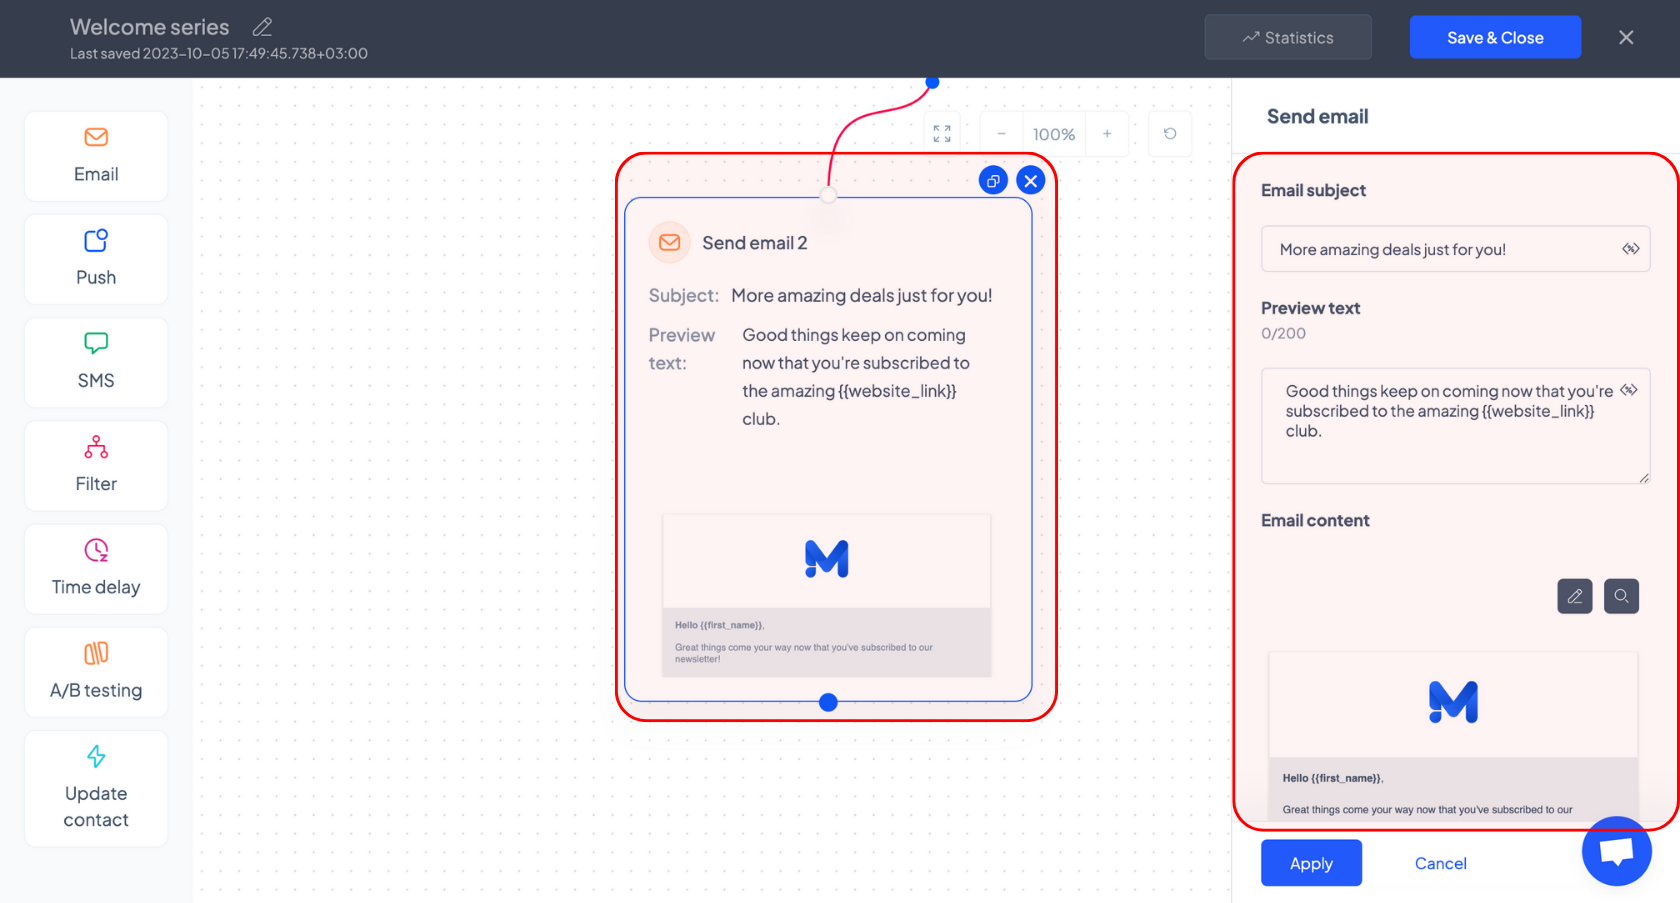
Once you’ve filtered the recipients for the follow-up campaign, click on the ‘Send email 2’ block to edit the subject line, preview text, and the content of your second campaign in your welcome series.
If you’d like to add more emails to your welcome flow, drag the blocks on the right to the canvas and connect the dots with your cursor. As a general rule, any email block should be followed by a time delay component to make sure your messages don’t get to your subscribers immediately and all at the same time.
You can also add SMS and Push Notification campaigns to your welcome series to offer a multi-channel experience, or filter the message sequence based on subscribers’ interaction with your campaigns.
Once you’re happy with your flow, apply your changes, and click the ‘Save & Close’ button.
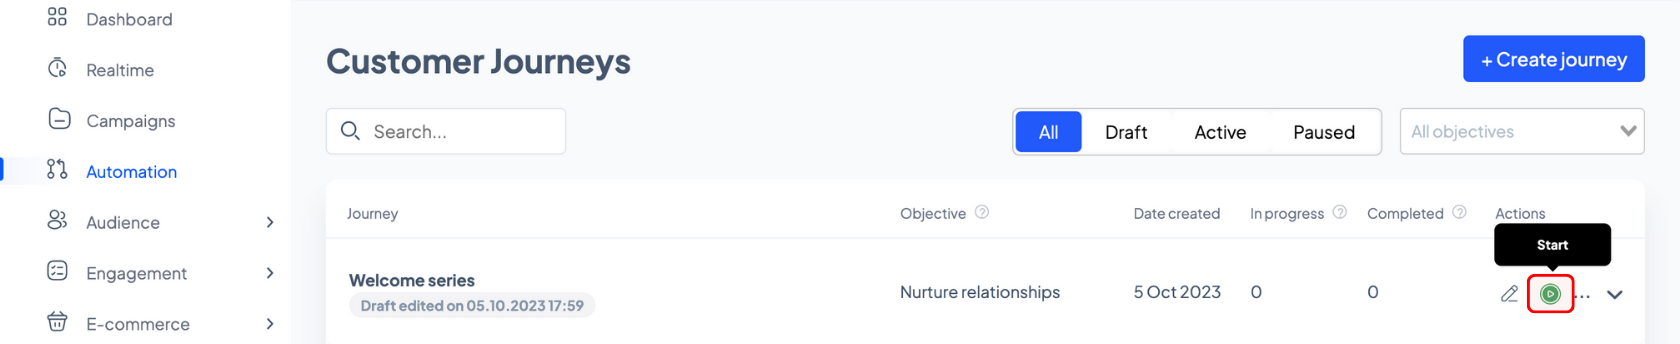
To start your automation, click the corresponding green button on the automation listing page and all that’s left is to sit back, relax, and become the most welcoming brand automatically, all thanks to theMarketer.
Related articles
STILL HAVE QUESTIONS?